Both Hikvision and Uniview security equipment are ONVIF compliant. This means their security cameras and video recorders can communicate with each other via the ONVIF protocol, and work together seamlessly. However, the equipment does not support plug & play when used with a different brand; you will need to program the cameras manually for it to work.
Programming the Hikvision Camera’s IP Address
First, make sure the Hikvision camera and Uniview NVR are both connected to your network via a router or PoE switch. Then, use your computer or laptop and open an IP search tool such as EZTools 2.0 to find the IP address of the camera and NVR.
If the IP camera and NVR are in the same IP range, that’s great! You don’t need to program anything.
However, most likely the Hikvision camera will have a different IP address and you’ll need to change it. This can be done by logging into the camera’s web interface, and navigating to Configuration -> Network -> Basic Settings -> TCP/IP and entering a new IPv4 Address for the Hikvision camera.
Ensure the IP addresses are in the same range
Make sure the first three digits of the Hikvision camera’s IP address match the Uniview NVR’s IPv4 address. In my example, the Uniview NVR had an IP address of:
10.0.0.220 <- Uniview NVR IPv4 Address
Therefore, I set my Hikvision camera to an IP of:
10.0.0.200 <- Hikvision camera IPv4 Address
From my example, the first three digits of the IPv4 address are the same. Your NVR may have a different IP address, such as 192.168.0.x or 172.16.0.x but the general idea is the same. Make sure the Hikvision camera’s IP address matches the Uniview NVR to the first three digits, otherwise they won’t connect to each other.
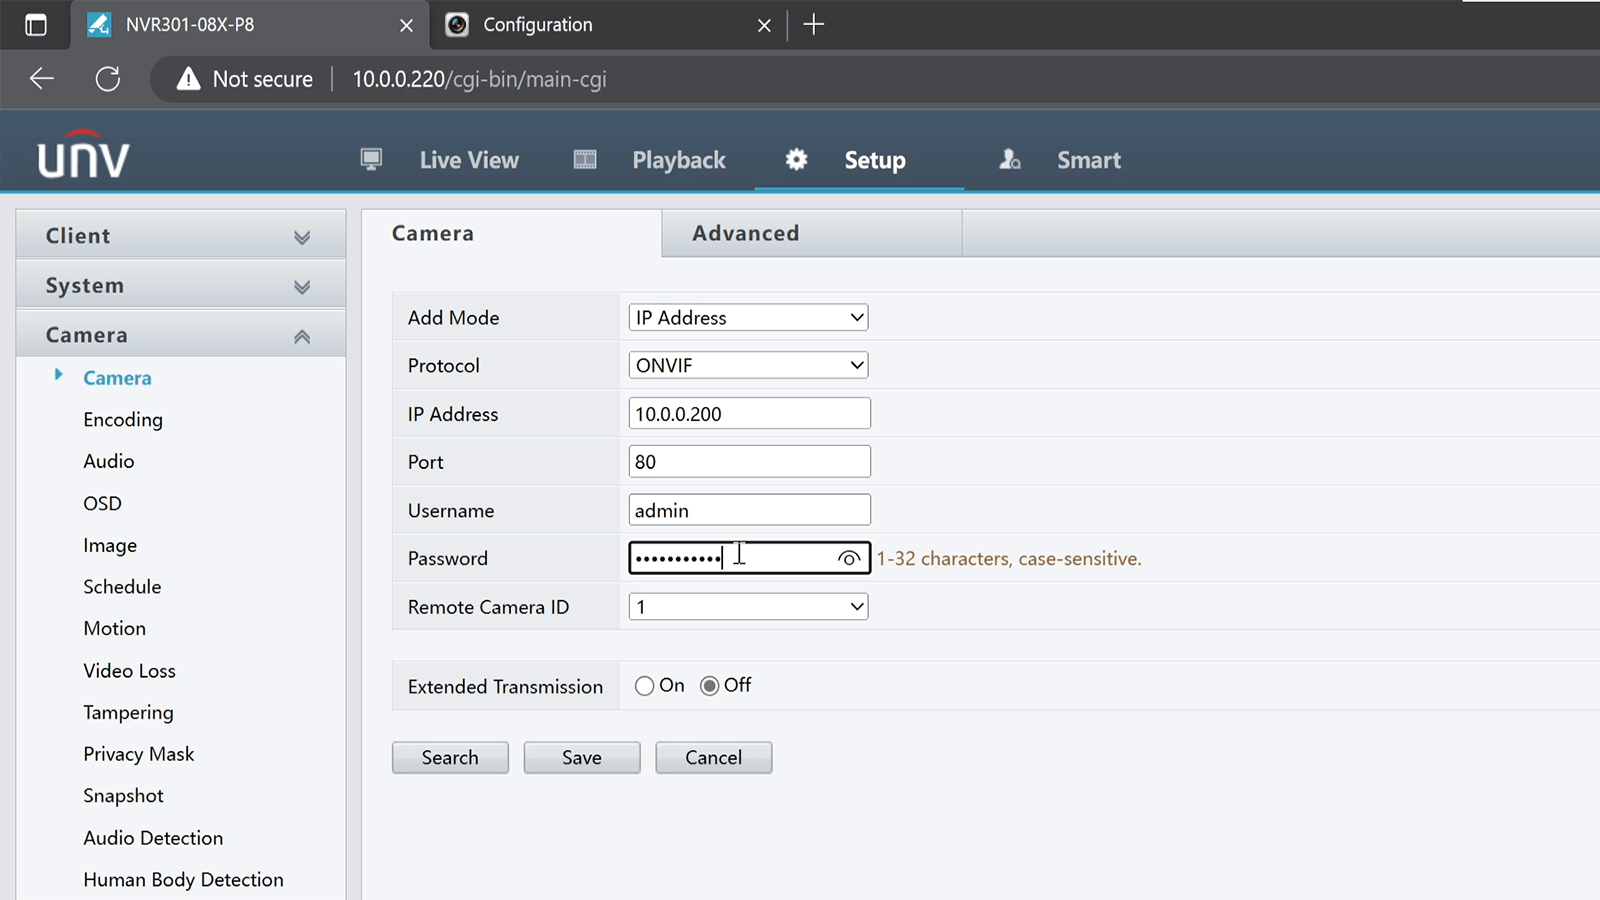
Adding Third-party Cameras to the Uniview NVR via Web Interface
Login to the web interface of your Uniview NVR through the local IPv4 address. Navigate to the camera management tab under Setup -> Camera -> Camera.
Next, click on an empty channel (indicated by the grey colour), and select Modify. Set the Add Mode to IP Address, the protocol to ONVIF. Then, enter the IP address for the Hikvision camera, the port (typically 80), and the username & password for the Hikvision.
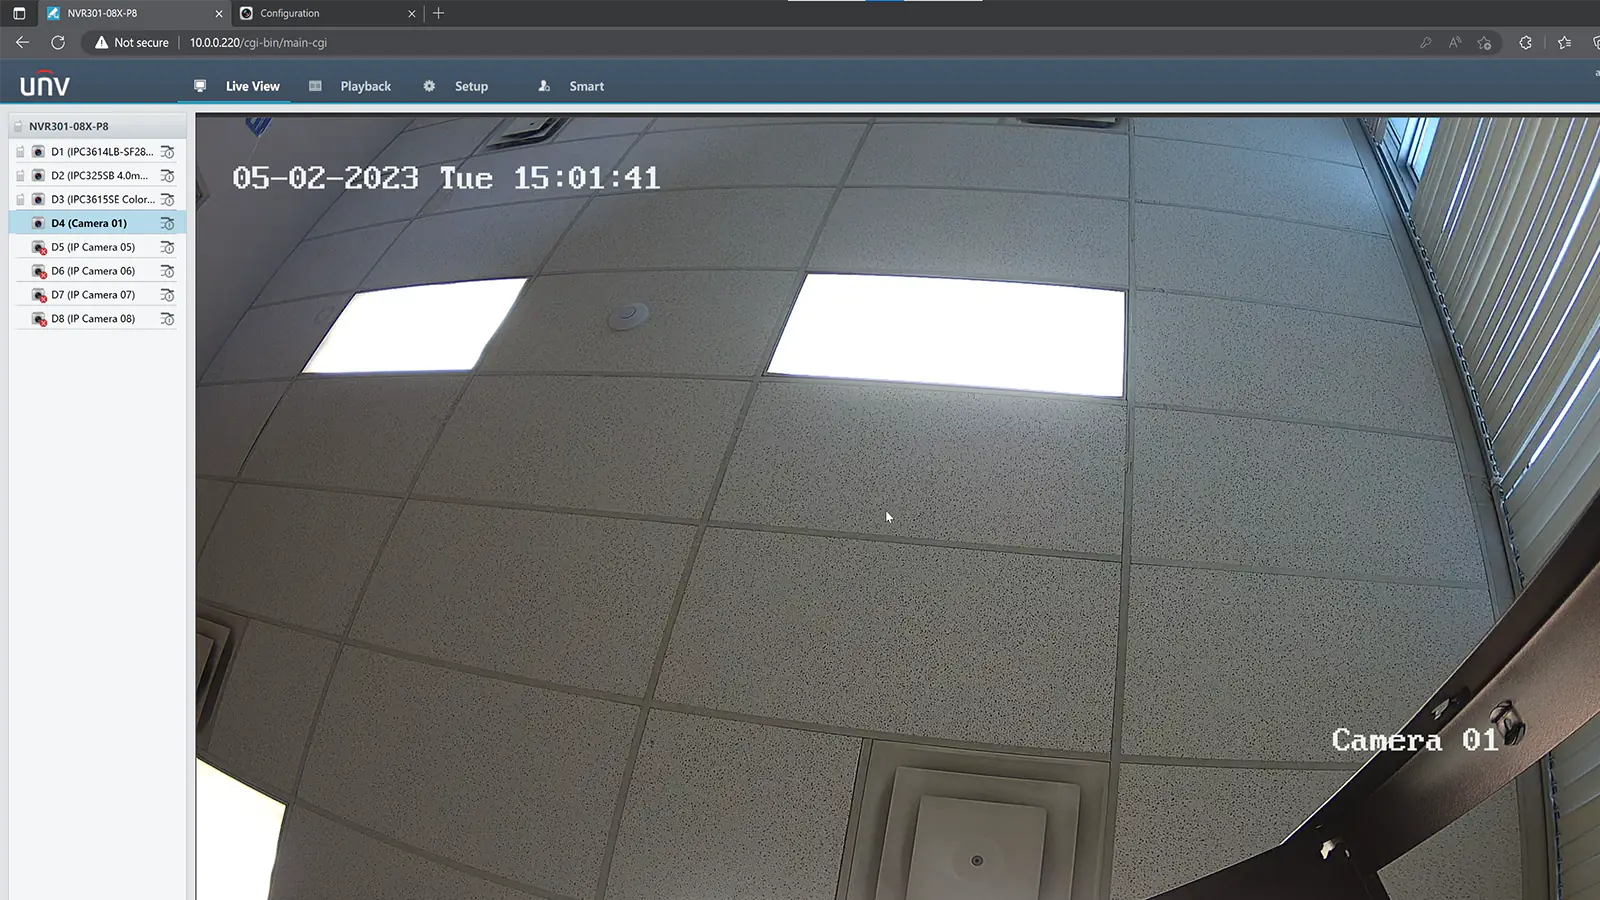
Click Save and wait ~15-30 seconds for the camera to appear online. You may need to click refresh a few times before it shows online. Once the camera shows online, you can check the Live View to verify it’s working.
Final Thoughts
If you’re still having issues getting your Hikvision camera to work on a Uniview NVR, you can try sending an email to Hikvision support:
If you would like to purchase Uniview equipment in Canada, please submit a Dealer Application form to XLR Security. We are an authorized supplier for Uniview, with excellent customer service and support.