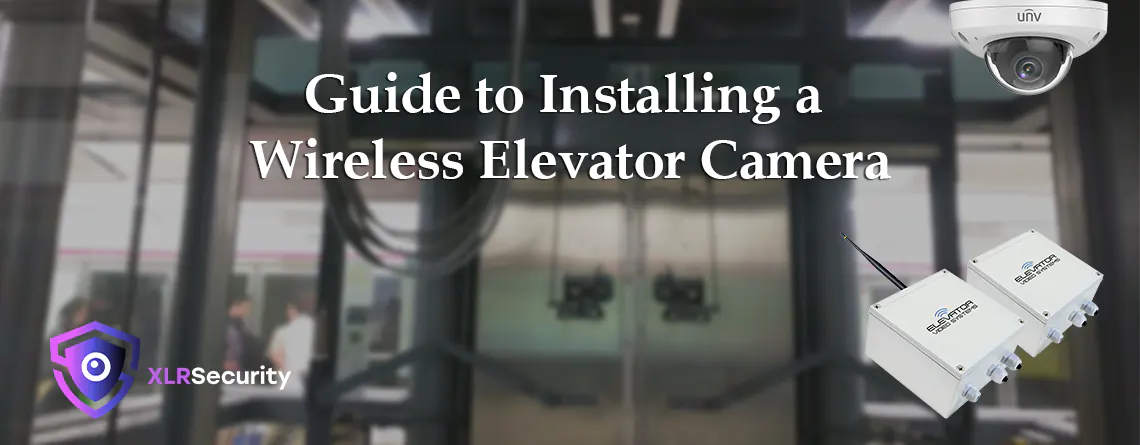
Introduction
Installing an elevator camera can be accomplished within a few hours. You will need an elevator mechanic on site with you, as required by law. And you will need a pair of wireless elevator transmitters, preferably something which has been tested and proven to work. Finally, you’ll also need a small dome camera with a wide-angle lens to capture the inside of the elevator cab.
Legal Requirements for Elevator Work
Before installing a camera inside of an elevator, you need to be aware of any legal requirements in your area. There may be a provincial or state law requiring you to have an “Elevating Device Mechanic“ certification. This certificate ensures you are up to date with all aspects of elevator safety regulations, because if something goes wrong inside an elevator there are potentially lethal consequences.
If you don’t have a certification for working inside an elevator, there may be an exception under the law that allows you to perform the work under the supervision of a licensed elevator mechanic. Here’s an example from the Ontario Technical Standards and Safety Act:
No person shall be involved in a task that is necessarily ancillary or incidental to the installation or maintenance of an elevating device unless he or she is supervised by a mechanic. O. Reg. 209/01, s. 24 (2).
This means you can perform security camera work only if you are accompanied by a certified elevator mechanic in Ontario. Please check your local laws before you proceed further; there may be additional requirements depending on where you live.
Benefits of a Wireless Elevator Camera System
Typically, data is transmitted between the elevator and elevator controller via a flexible cable called “elevator travelling cable”. This cable is very specialized, and is built to withstand continuous movement for 20+ years. However, these elevator travelling cables only have a limited number of conductors inside. If all conductors are being used, an additional travelling cable must be installed to support a security camera.
According to ElevatorLabs:
“…it can cost $10,000 to $15,000 to install a new elevator traveling cable” (source).
This cost can be significantly reduced if you add a wireless elevator system instead of a physical cable. The signal of the
Choosing a Wireless Elevator Transmitter System
When it comes to wireless P2P bridges, there are many options on the market. Ubiquiti, EnGenius, and TP-Link are a few of the names that come to mind when it comes to networking device manufacturers. And you certainly could use one of their devices; for example, here’s a guy who used Ubiquti to install an elevator camera.
If you want a device that’s specifically designed for elevator camera systems, you’ll want to take a look at the VNO-5815PT Wireless Elevator Video System. This device has been on the market for over 12 years, designed and assembled in Canada, and has customized firmware specifically for optimal signal transmission within an elevator shaft. Additionally, 500-800 of these devices are sold and installed every year in North America.
How to Install an Elevator Transmitter System
First, you must determine if you will be transmitting the wireless signal to the top, or bottom of the elevator shaft. This will be planned out according to the availability of power outlets, device clearances, and existing network infrastructure. In this article, we’ll assume we are installing a transmitter on top of the elevator cab, pointing upwards towards the receiver.
Next, mount your transmitter on the top of the elevator cab using the included universal brackets. Connect the included PoE injector to a 120V power outlet and connect an ethernet cable into the transmitter for power.
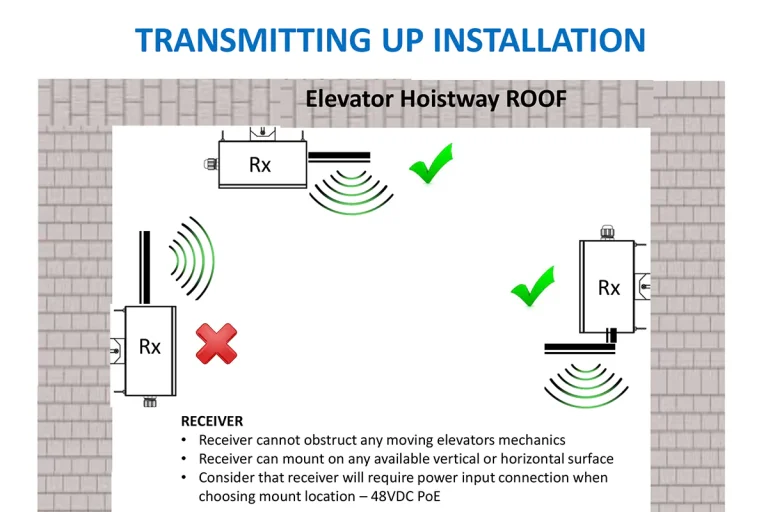
Finally, mount the wireless receiver on the top of the elevator shaft. Ensure there is clear line of site between the transmitter and receiver. As before, plug the PoE injector into a power outlet, and run an ethernet cable to the receiver for power. Ensure the receiver’s antenna is oriented horizontally; see picture below for examples.
Which Camera to use inside the Elevator?
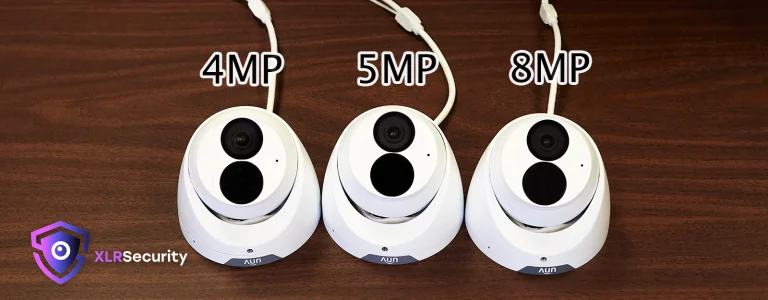
Inside the elevator, we recommend using low-profile dome cameras with an angle 90° wide or greater. Uniview’s IPC314SB-ADF28K-I0 is the perfect model for this: At only 2.4” in height, this camera won’t stick out too much inside the elevator. At the same time, the 4MP resolution is perfect for ensuring any incidents that happen inside of the elevator are recorded with sharp image quality. And finally, the camera has LightHunter technology, allowing for clear video even in poor lighting conditions.
Final Thoughts
Once you prepare with the right knowledge and equipment, installing a wireless elevator camera should be a breeze! For all inquiries related to elevator wireless transmitters and security cameras, please contact XLR Security via email info@xlrsecurity.com or phone 905-794-5508. We look forward to helping you with any security related business or activities!