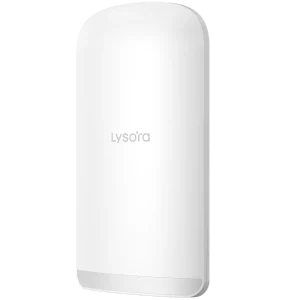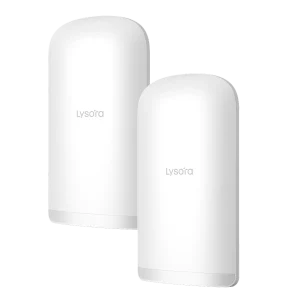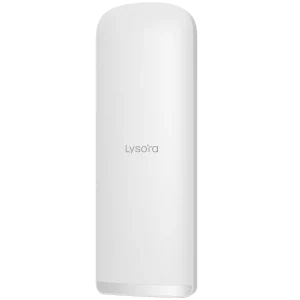
There are a couple ways to pair a Lysora Bridge, but let’s start with the easiest method first – which is to use the one-touch pairing button.
Via one-touch pairing button
You can find the one-touch pairing button at the bottom of the bridge, underneath the cover and beside the Ethernet ports.
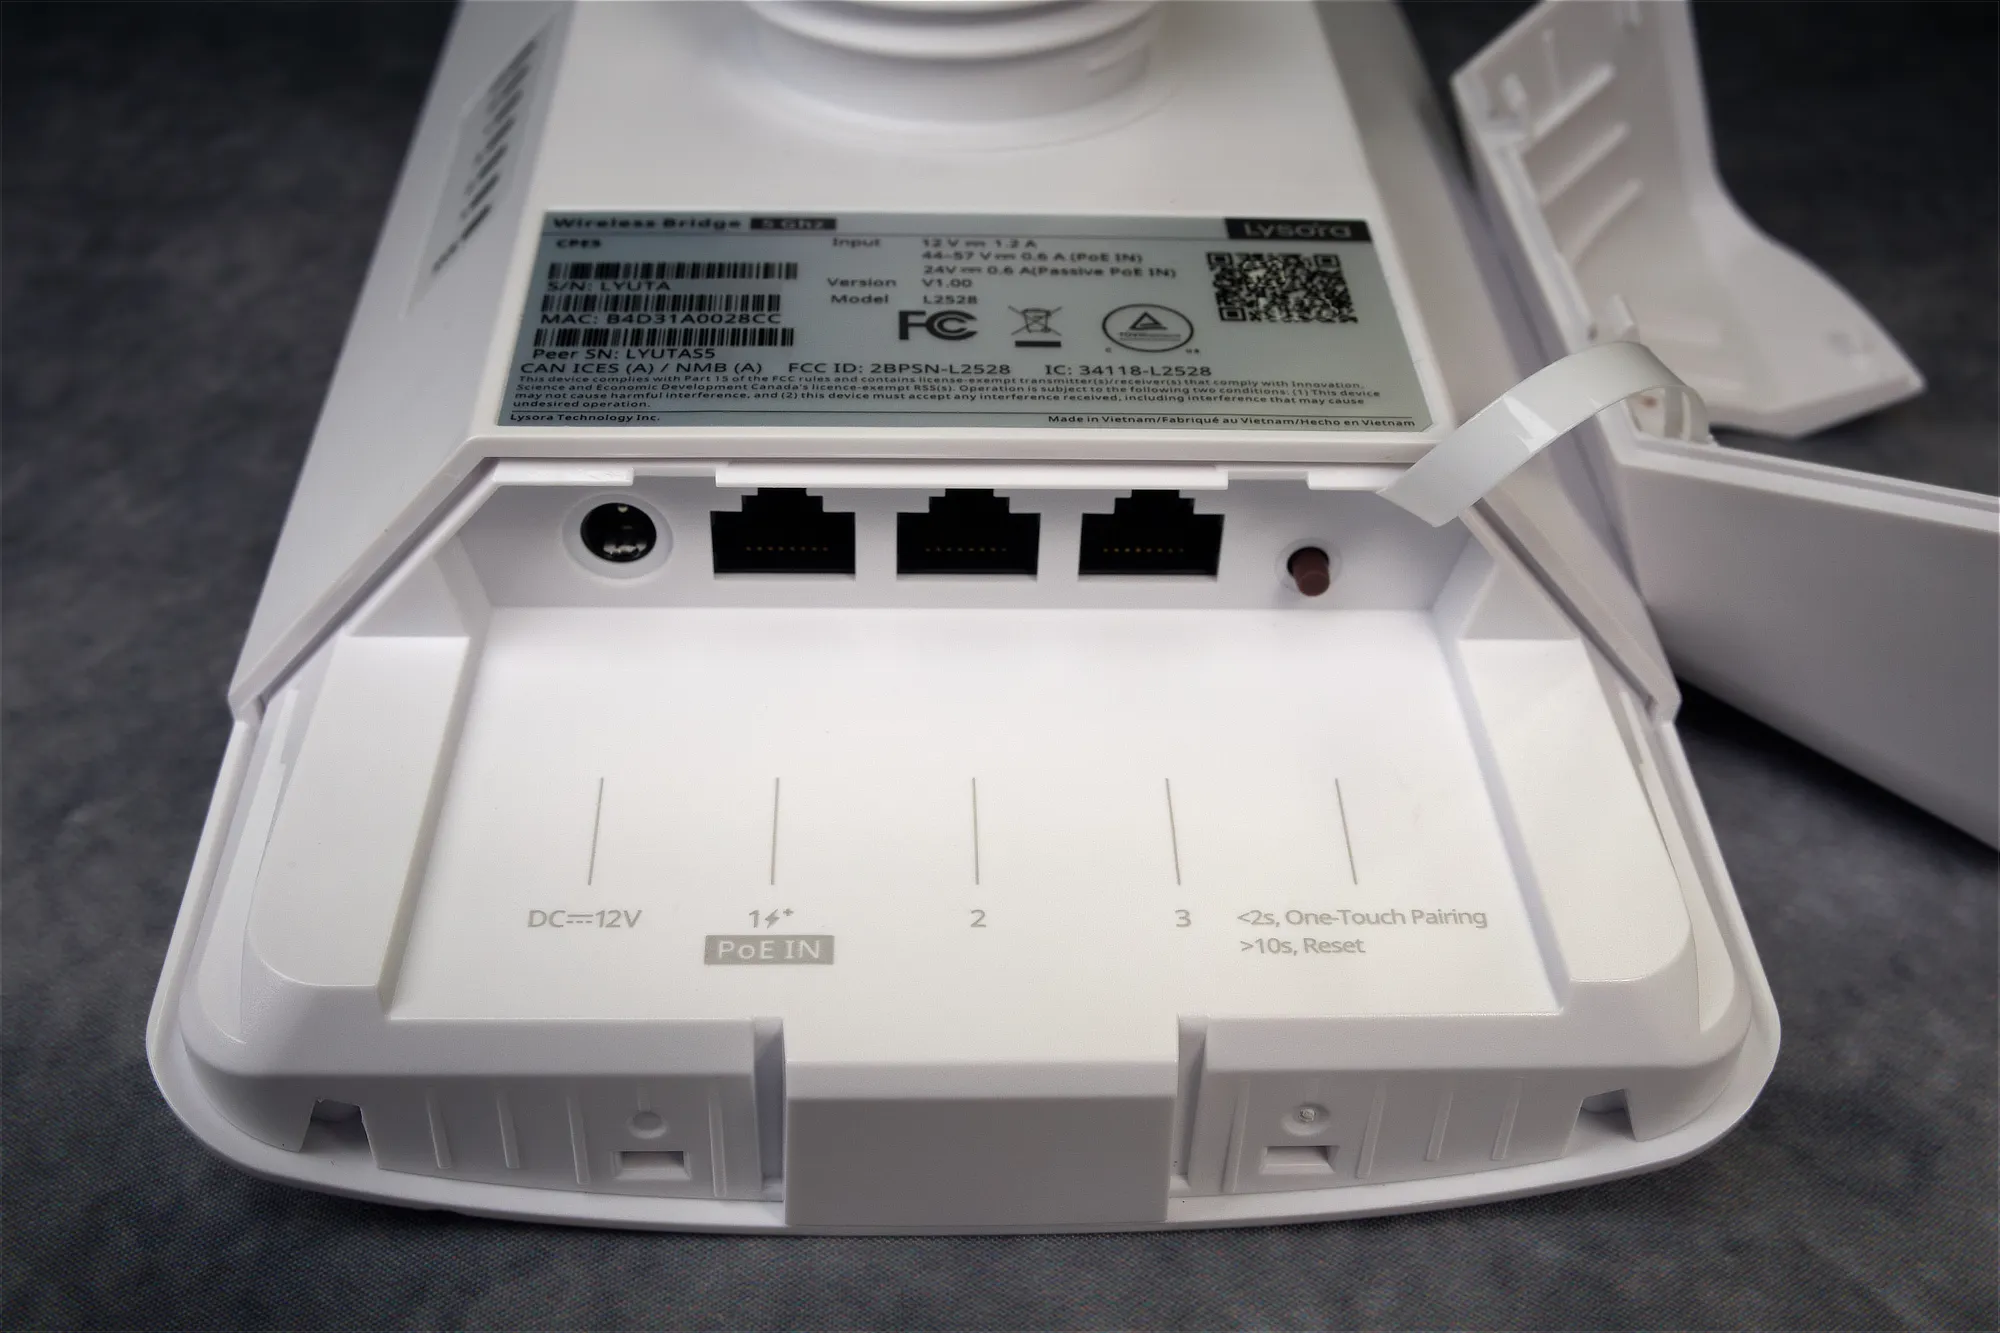
Before pushing the button, make sure all the bridges you want to pair are powered up and located within 20 m (65.6 ft) of each other. Make sure they are fully booted up – wait at least two minutes after powering them on – then push the one-touch pairing button on one of the bridges for half a second.
After about two minutes, this bridge will become the BaseStation (receiver) – while the others will be set to CPE (transmitter) mode.
For CPE3-P and CPE5, you can have a single BaseStation paired with up to five CPE bridges. For the Base5i, a single BaseStation can be paired with up to sixteen (16) other bridges.
Once you see the wireless signal strength lights turn solid across all the bridges, that means the pairing is complete and you can continue your install.
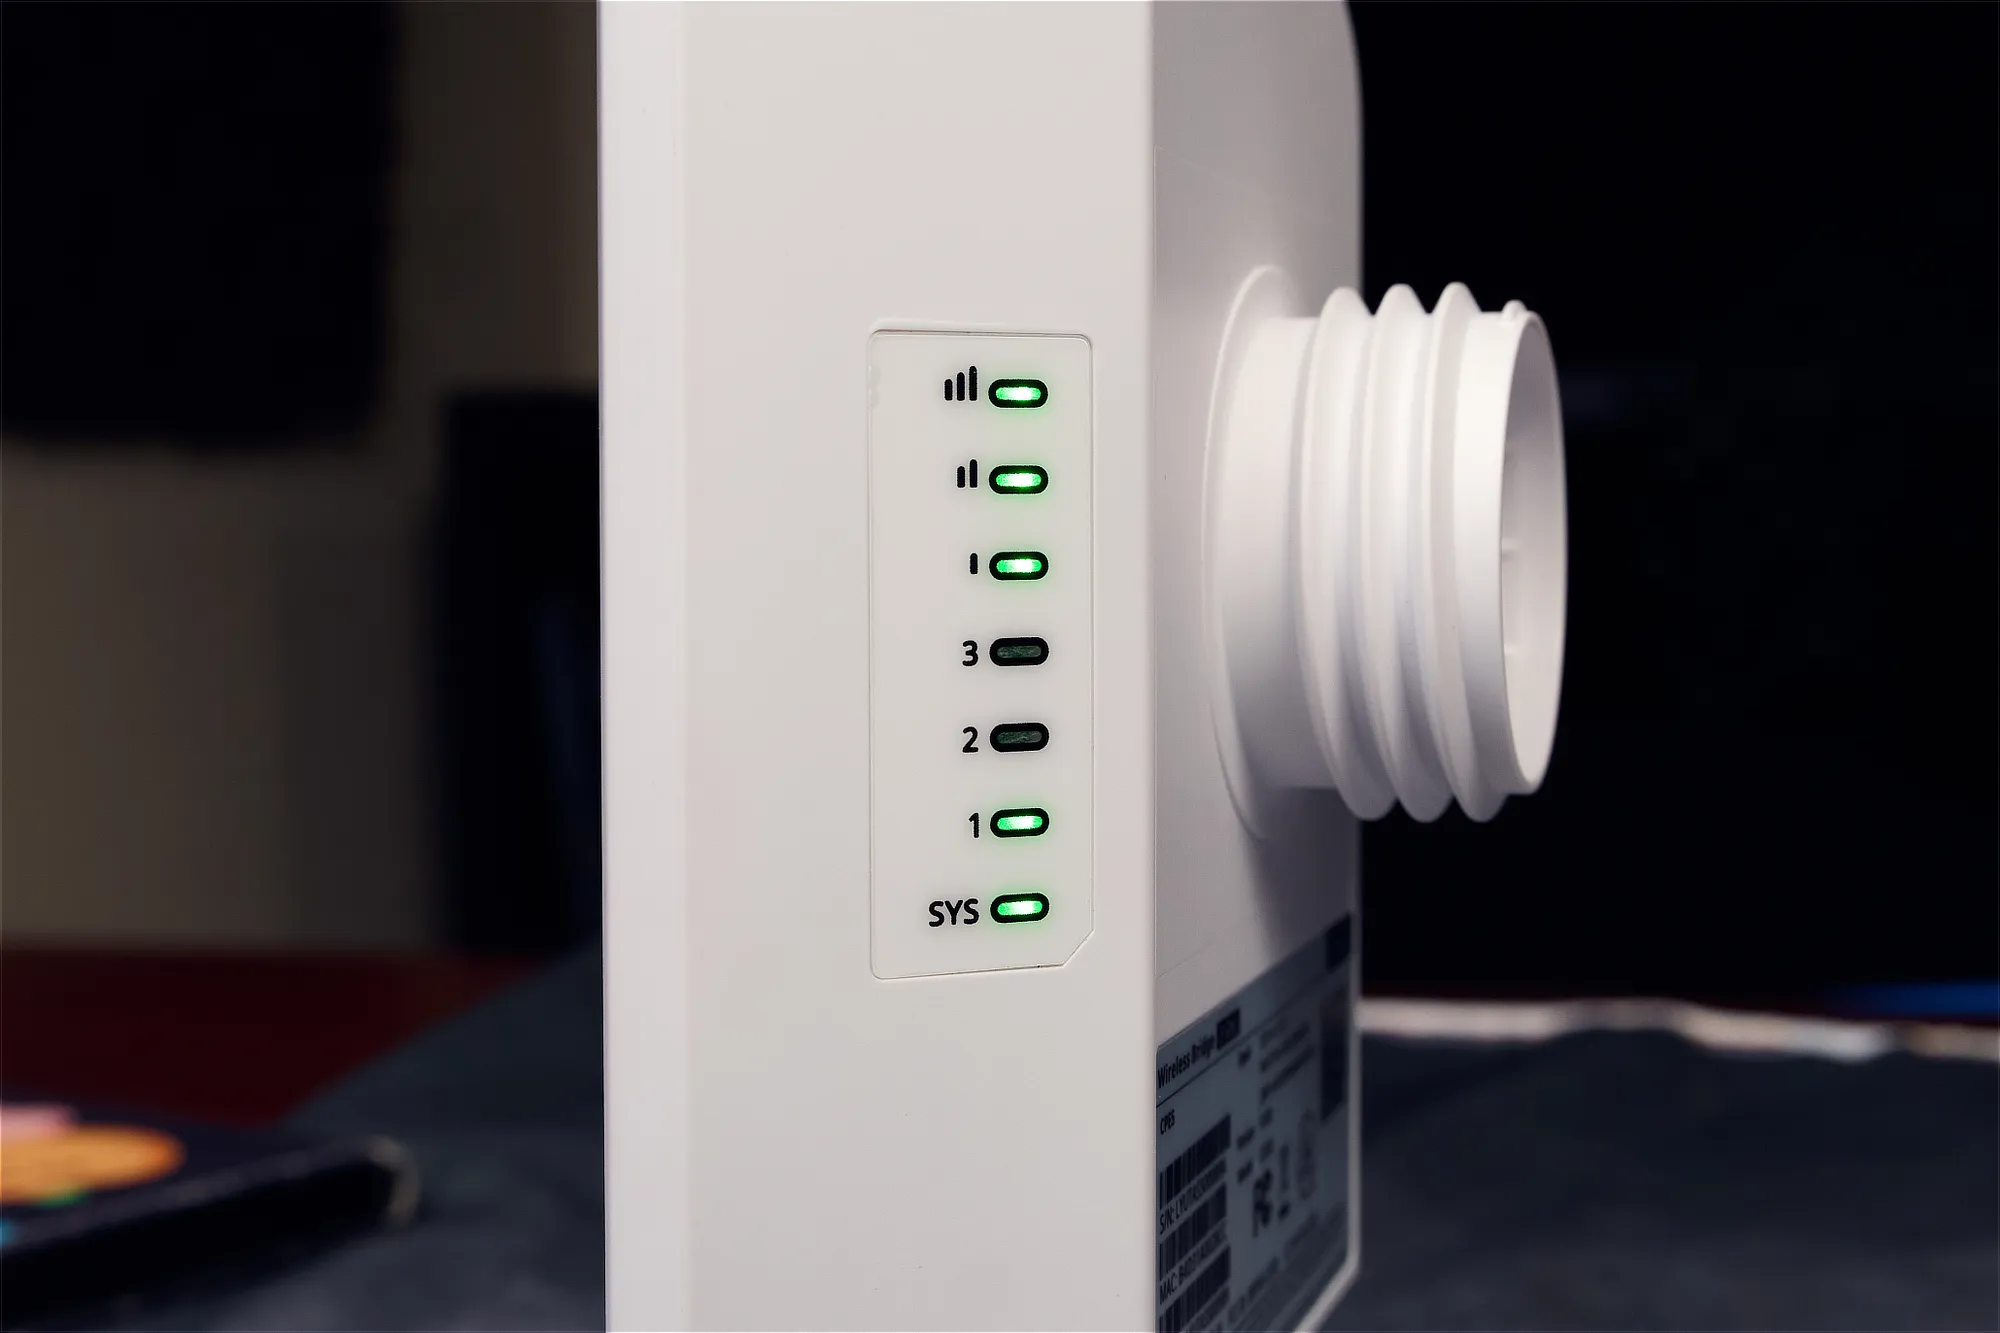
If you run into any issues, please make sure that all the bridges are set to factory default settings. You can restore default settings on a bridge by holding down the one-touch pairing button for more than 10 seconds. Only a bridge that’s set to factory default can be paired through one-touch pairing.
Via a PC or laptop (connect to management Wi-Fi or local network)
You can also pair the Lysora Wireless Bridges by logging into them using a computer or laptop PC. This method takes a bit longer than using the one-touch pairing button, but it also gives you more control and flexibility over the process.
This method also has two sub-methods:
- A: Connect using the LAN port of the Wireless Bridge –> Login through the IP address 10.100.111.254
- B: Connect using the management Wi-Fi of the bridge –> Login using either 10.100.111.254 or 192.168.140.1
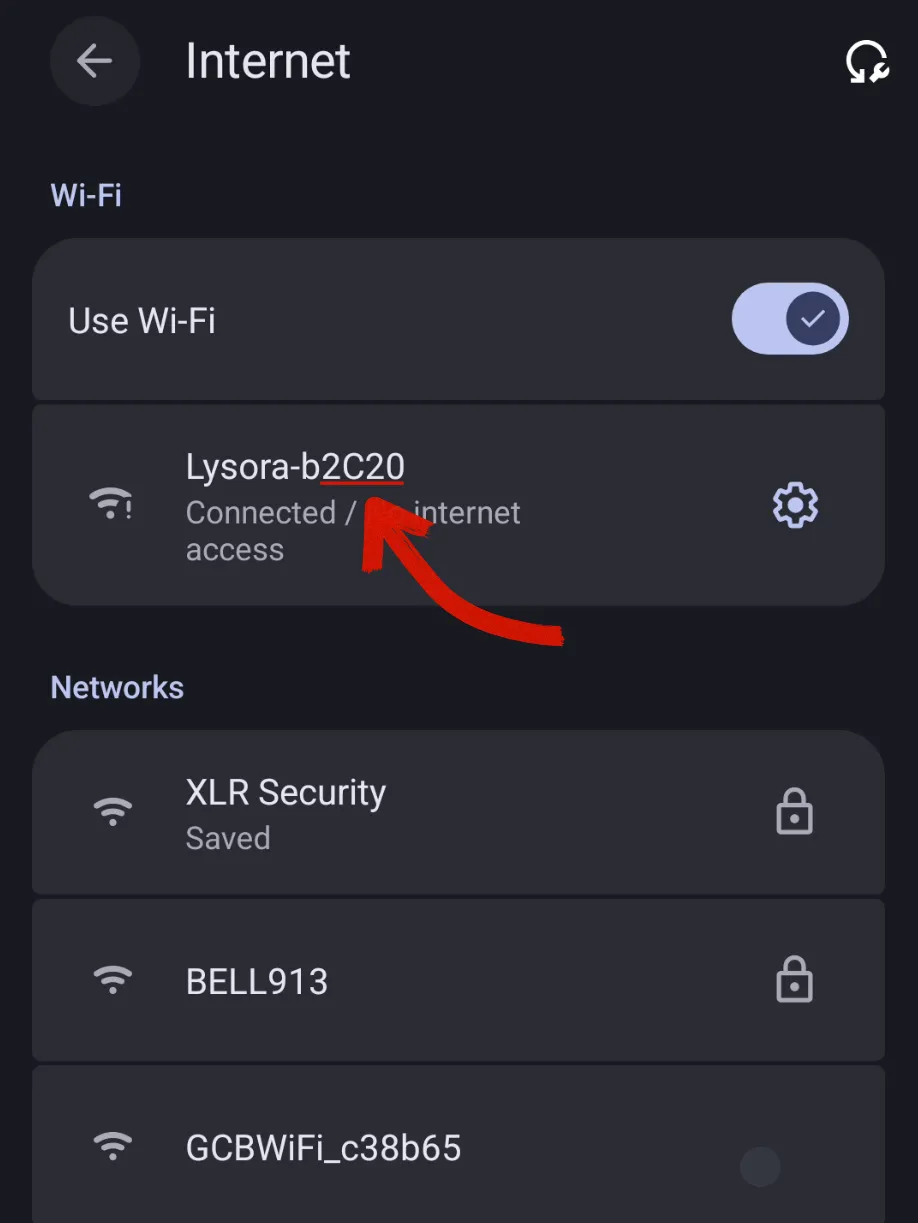
If you’re choosing Method A, make sure that your computer and the wireless bridge are both connected to the same network (via Ethernet). For Method B, you’ll have to connect to the management Wi-Fi of the bridge – where the SSID is Lysora-bxxxx.
The management Wi-Fi is only active for two hours after the bridge powers up, so if you don’t see it, you can try power cycling the bridge. It should come up after a minute or two.
After connecting to the management Wi-Fi – open your web browser and type 10.100.111.254 into the address bar – then hit enter. You should be brought to the login page for the wireless bridge. If you see a warning that says ‘Your connection is not private’, click on Advanced –> Proceed to 10.100.111.254 (unsafe).
Don’t worry, it’s not actually unsafe, since you know exactly which device you’re connecting to, and it’s over the local network.
Then, enter the default username of admin and log in to the bridge. Then, enter a project name and set a new password for the bridge.
On the next page, you have the option to set the wireless bridge to either BaseStation or CPE mode. For the receiver, set it to BaseStation mode – then set the rest of the devices to CPE mode.
The BaseStation is the main device that all other bridges connect to. You can only have one BaseStation in a bridge group, but multiple CPE (customer premise equipment) devices.
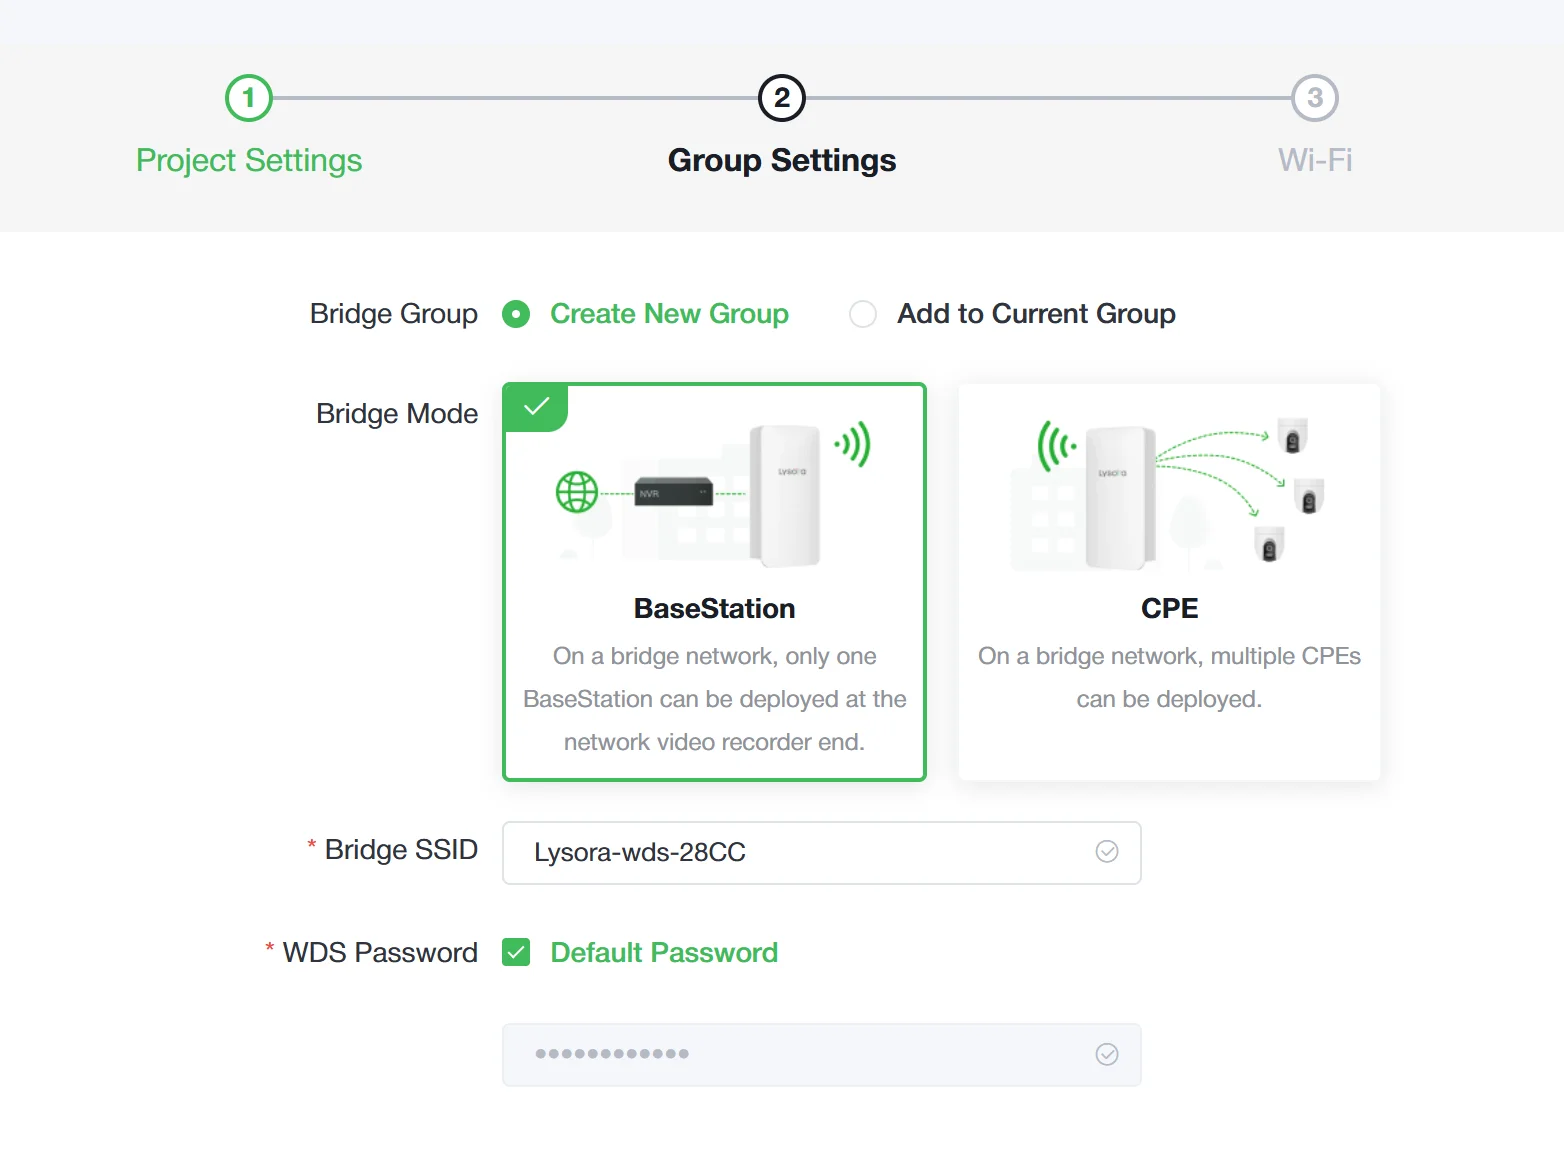
You should leave the WDS password set to Default Password, so there’s less opportunity for the pairing to fail due to a mistyped password. Also, keep the Bridge SSID on whatever it’s set to by default.
On the next page, you have the option to change the Wi-Fi settings of the bridge. When left on default, the management Wi-Fi radio will automatically disable itself after two hours – but when set to custom it will remain on indefinitely. I recommend leaving it on default, then clicking Finish at the bottom to finalize the settings.
Repeat the same process with your other bridge(s), but instead of setting them to BaseStation, you must set them to CPE mode. Also, make sure you set Bridge Group to Add to Current Group, so that you can pair the second bridge with the first bridge.
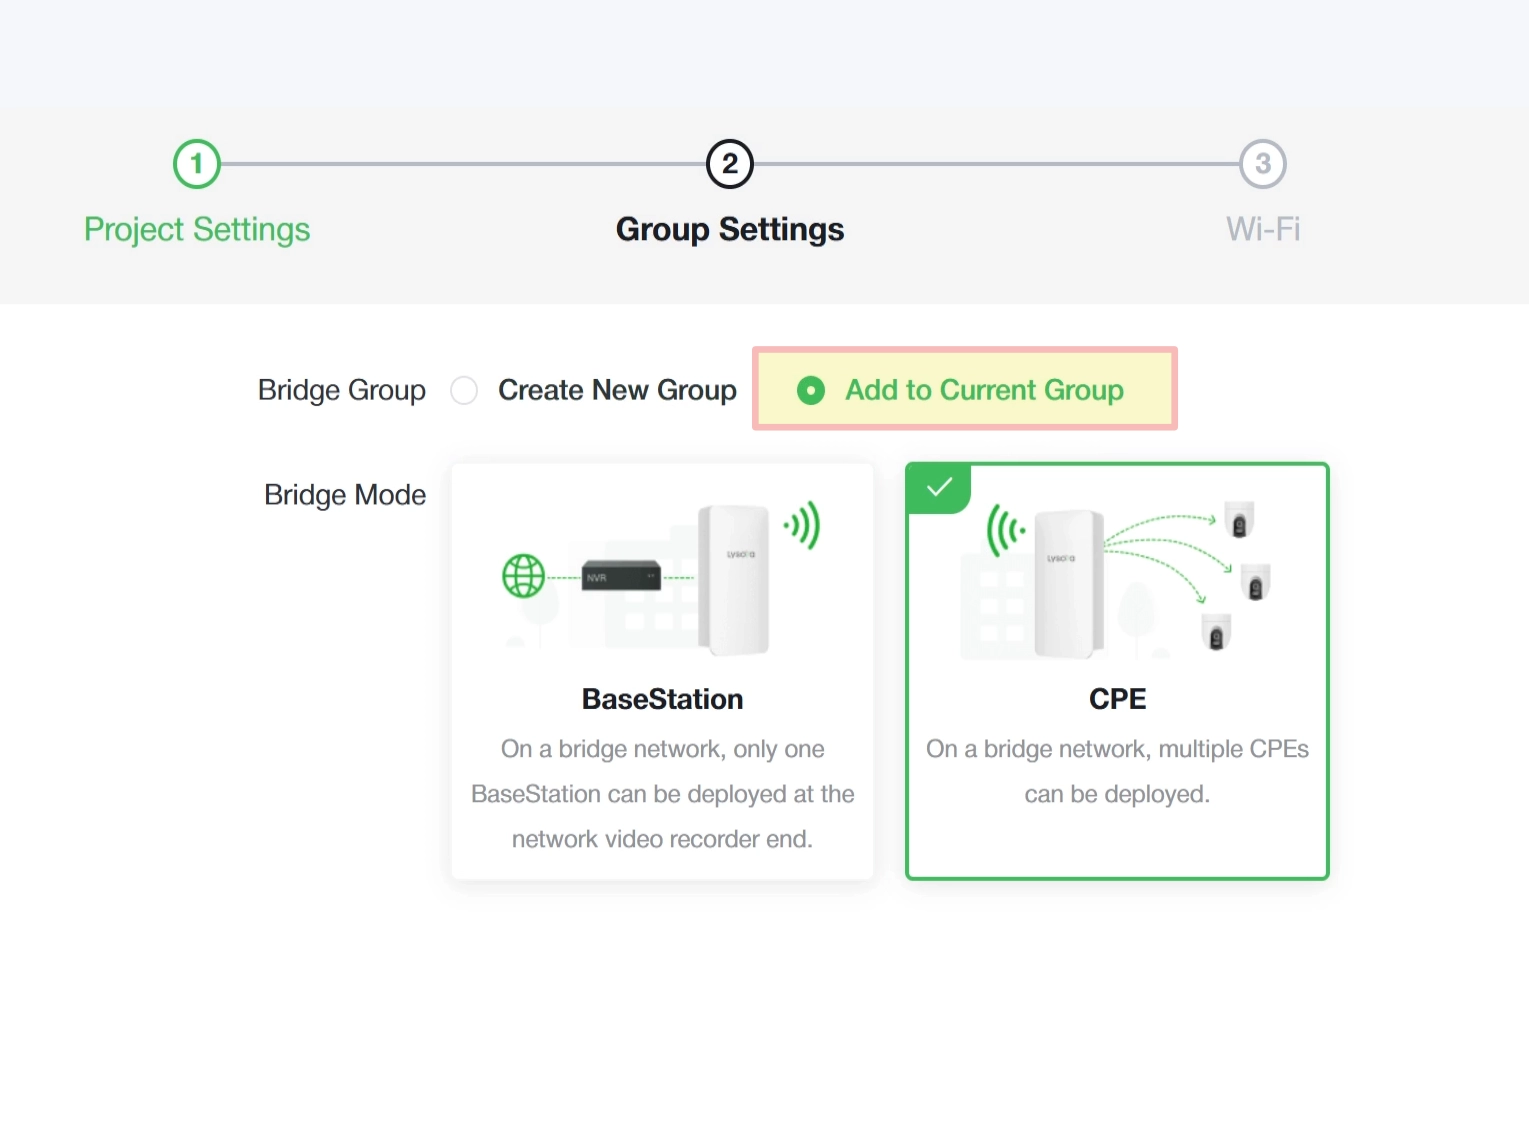
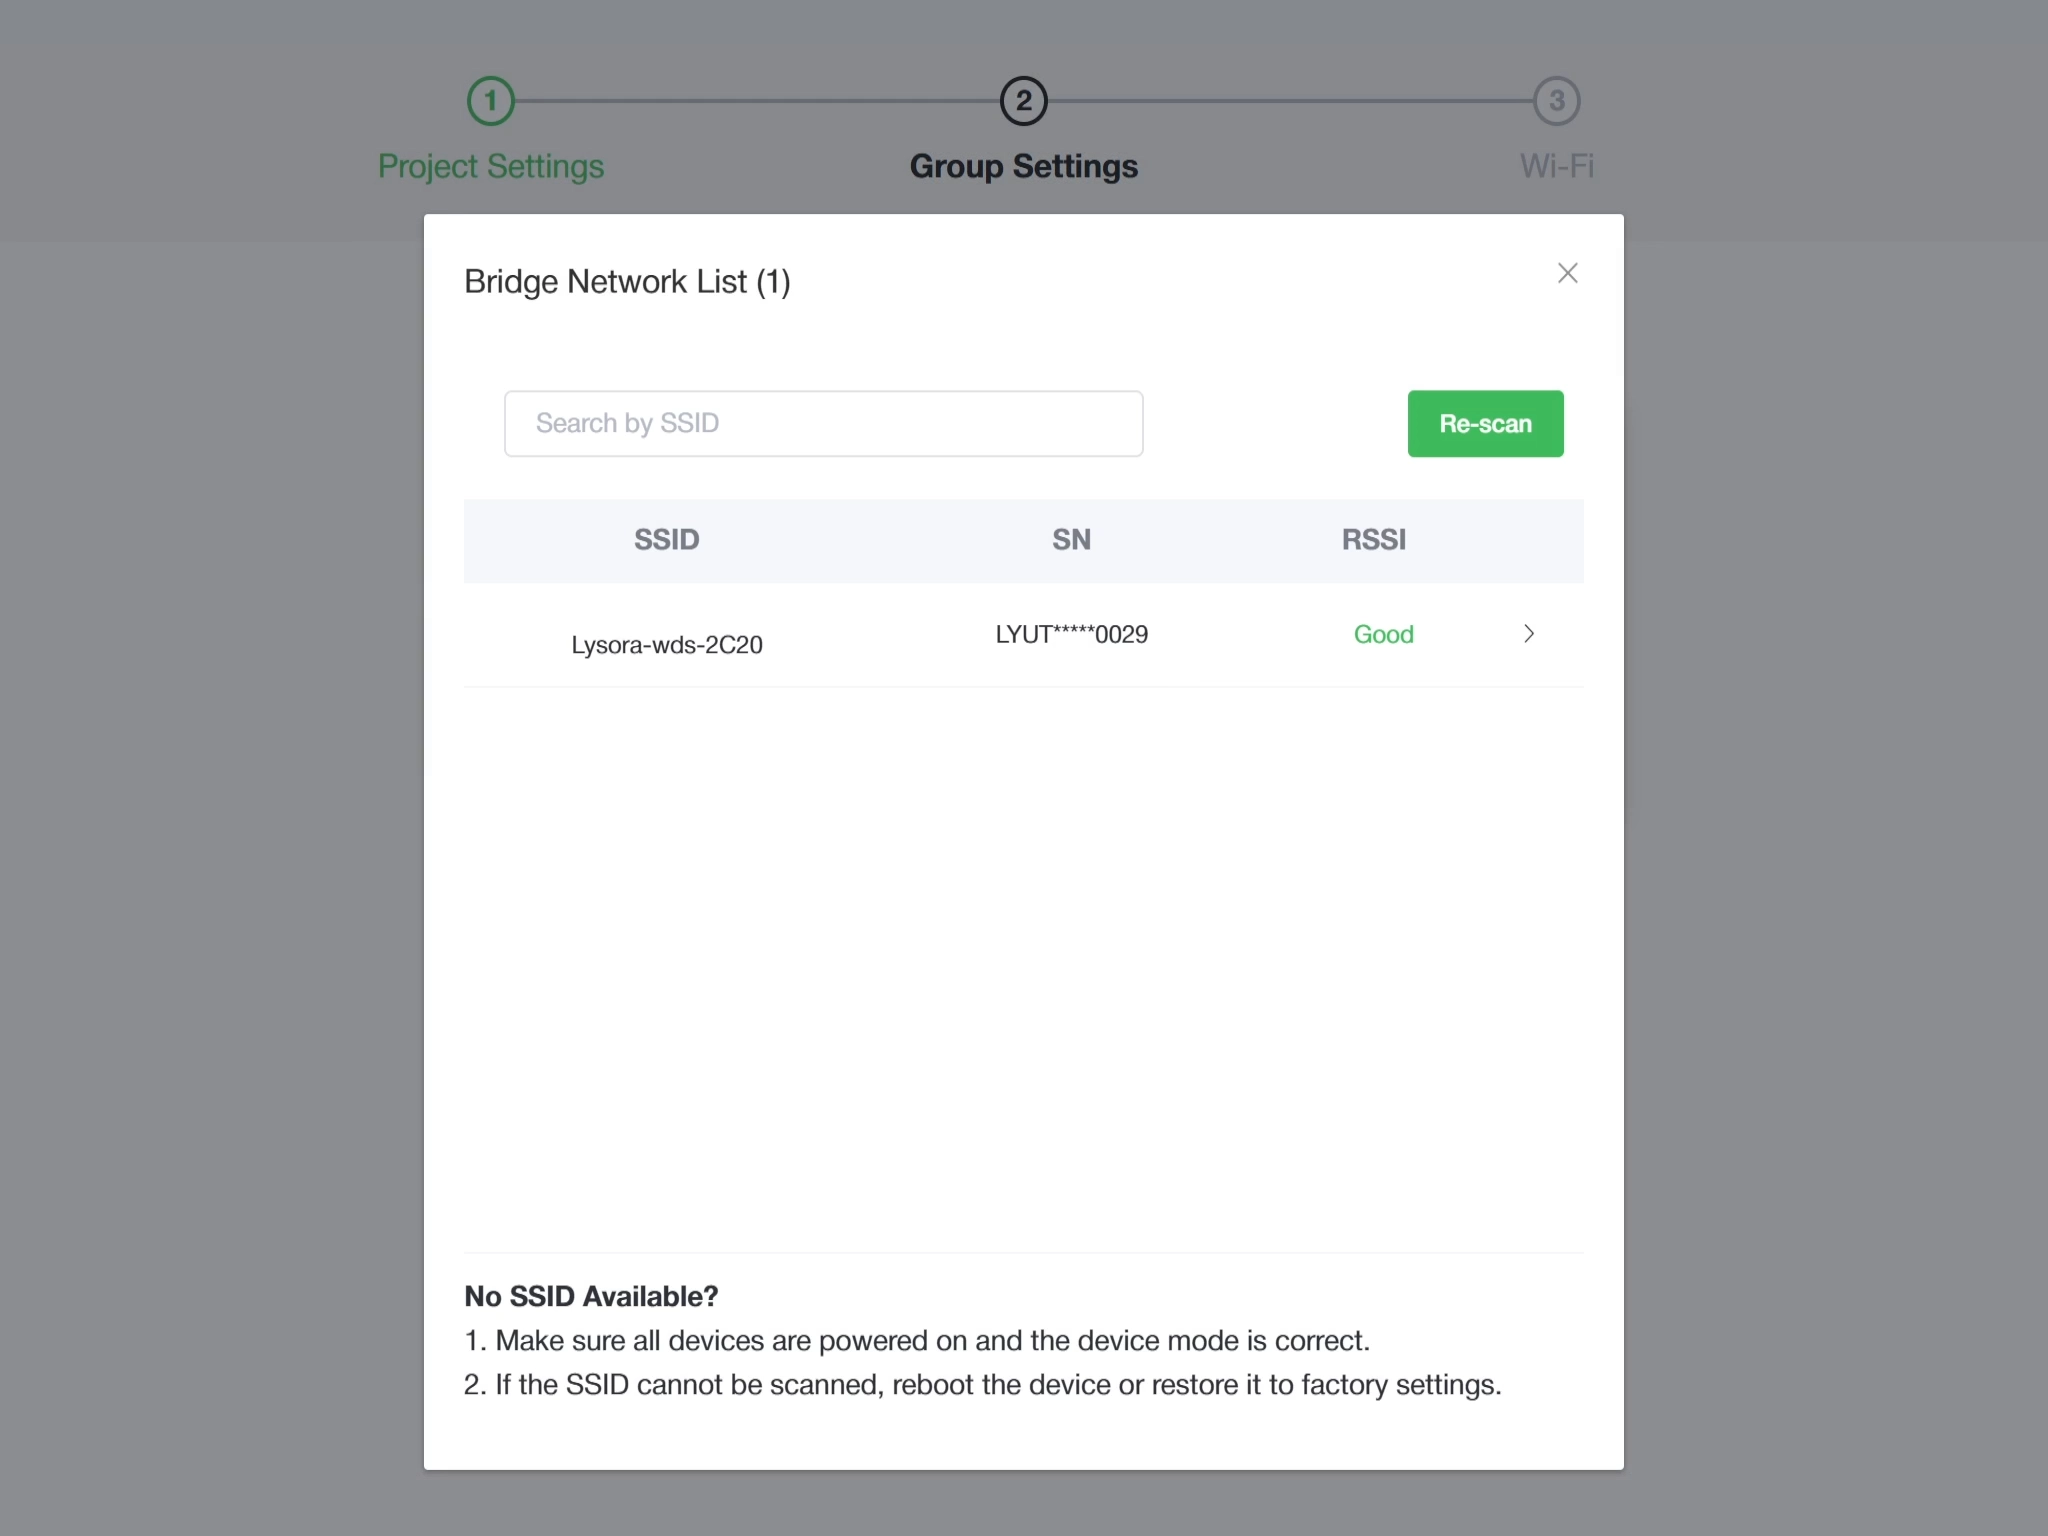
After clicking Next at the bottom, you’ll see a Bridge Network List that shows you all the nearby BaseStations you can pair the second bridge with. If you don’t see anything in the list, make sure the first bridge is still powered on and the two bridges are within 20 metres of each other.
Select your BaseStation from the list, then click Bridge Device on the next screen. Finally, click Finish at the bottom to finalize pairing the bridges together. You can repeat the steps to add more transmitters to an existing bridge – which can be helpful for expanding an existing project.
Via Lysora App
You can also pair Lysora wireless bridges using the Lysora Cloud App (Google Play | iOS App Store) on your phone.
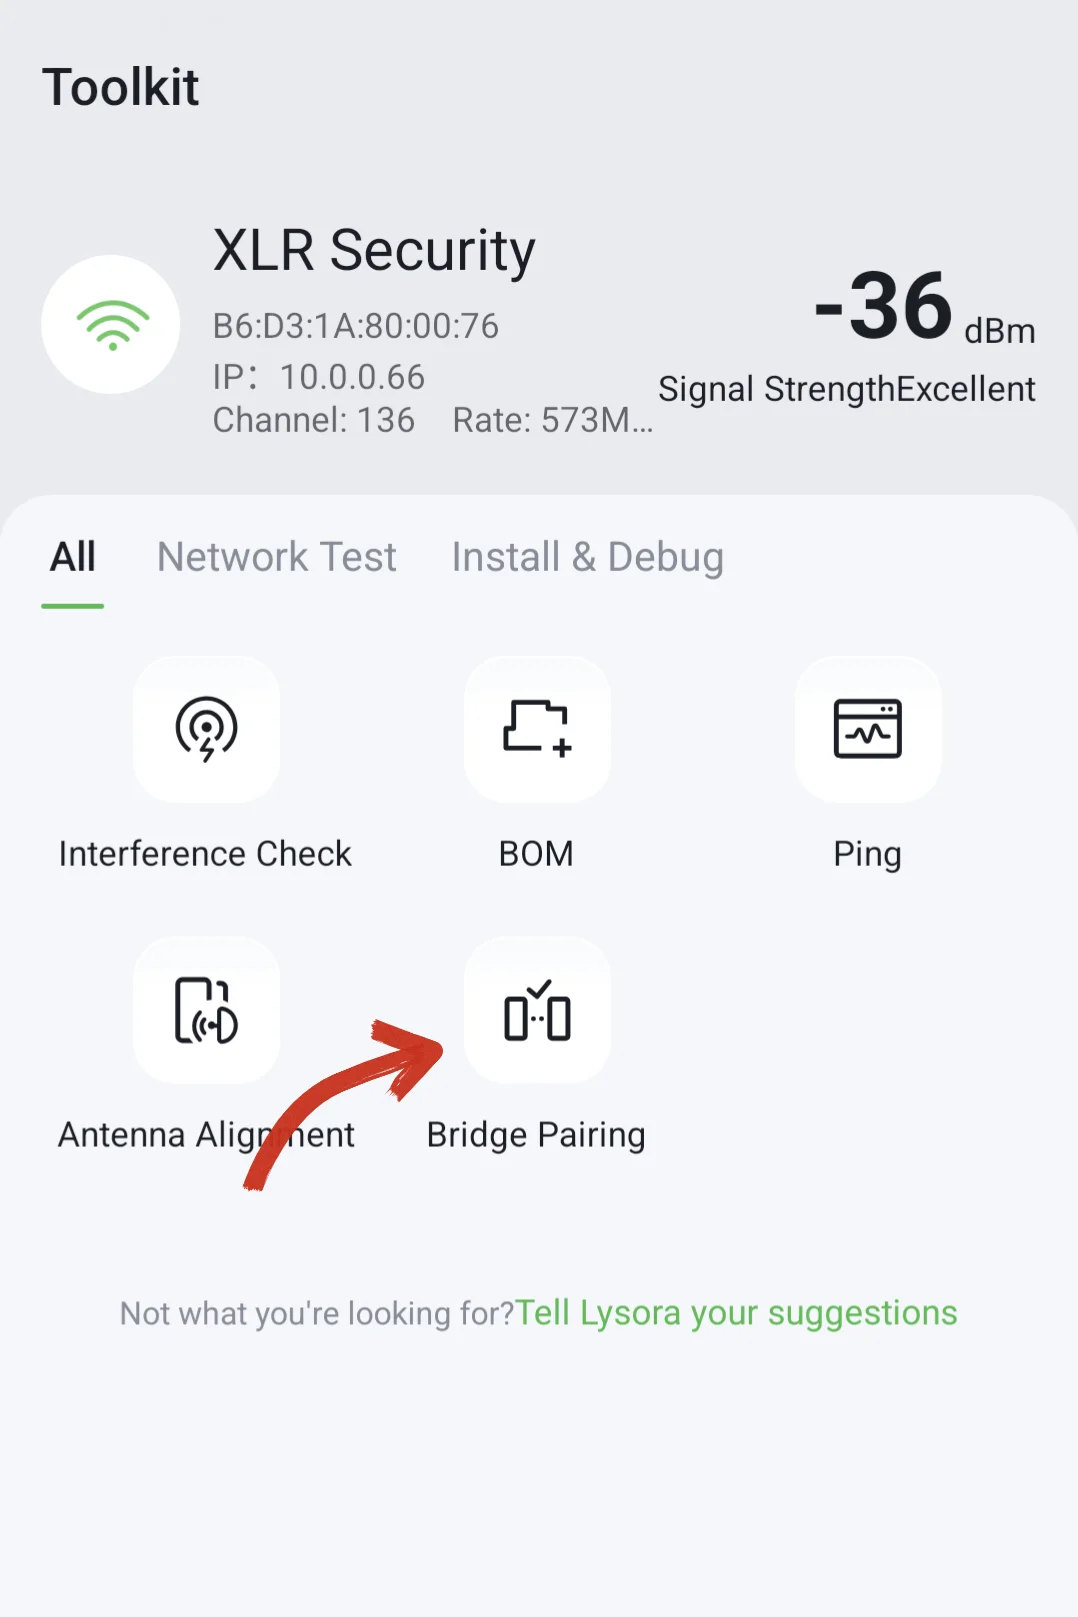
After opening the app, navigate to the Toolkit tab at the bottom, then select the Bridge Pairing icon to get started. You’ll see a quick explanation of the bridging procedure – which explains that you’ll need to connect to the bridge’s management Wi-Fi network to configure them. Click Start Pairing at the bottom to move to the next page.
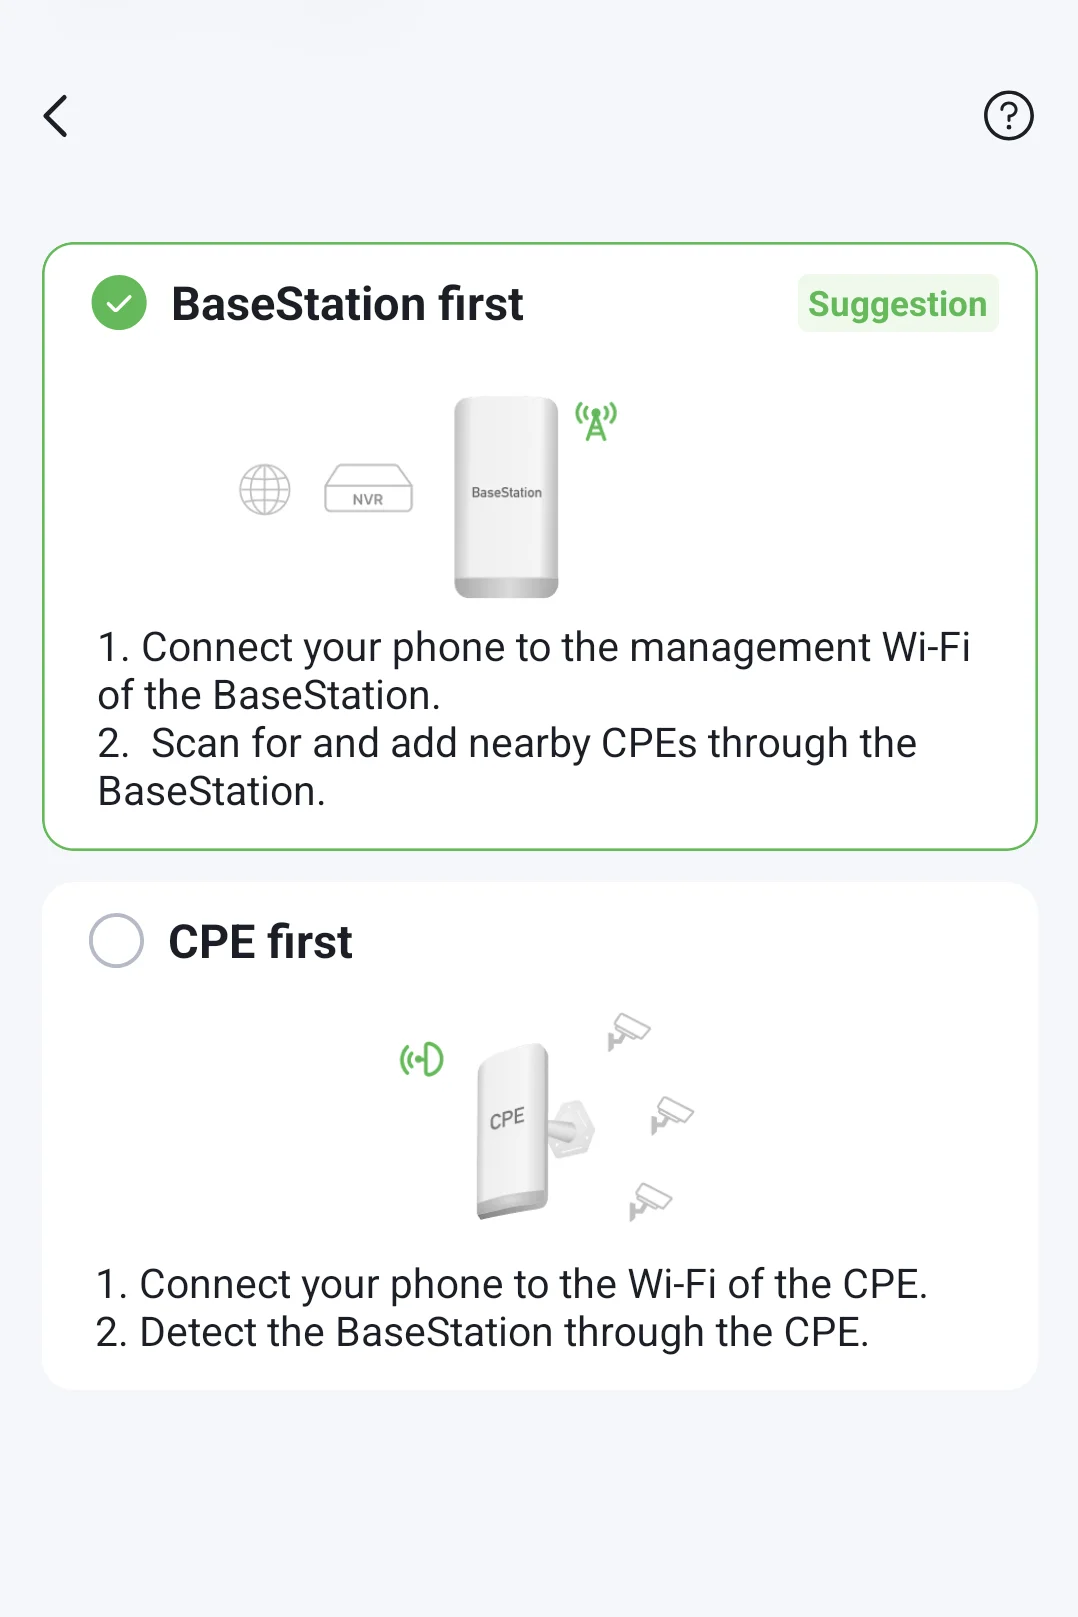
From this page, you can select from two options: BaseStation first or CPE first. I recommend starting with the BaseStation, since that’s going to be your main receiver to which the other bridges will be added to. Only after setting up the BaseStation should you select CPE first – in order to pair the remaining bridge(s).
Regardless of which option you choose, you’ll be prompted to connect your phone to the management Wi-Fi of the wireless bridge.
Connect your phone to the Wi-Fi SSID Lysora-bxxxx where xxxx = last four digits of the MAC address, then return to the Lysora app. You’ll be prompted to set a management password for the bridge (at least 8 characters, letters, numbers, uppercase and a special character) – then you can set the bridge into BaseStation mode.
It’ll take a minute or so to complete, at which point you’ll see confirmation telling you that the device base has successfully switched to BaseStation.
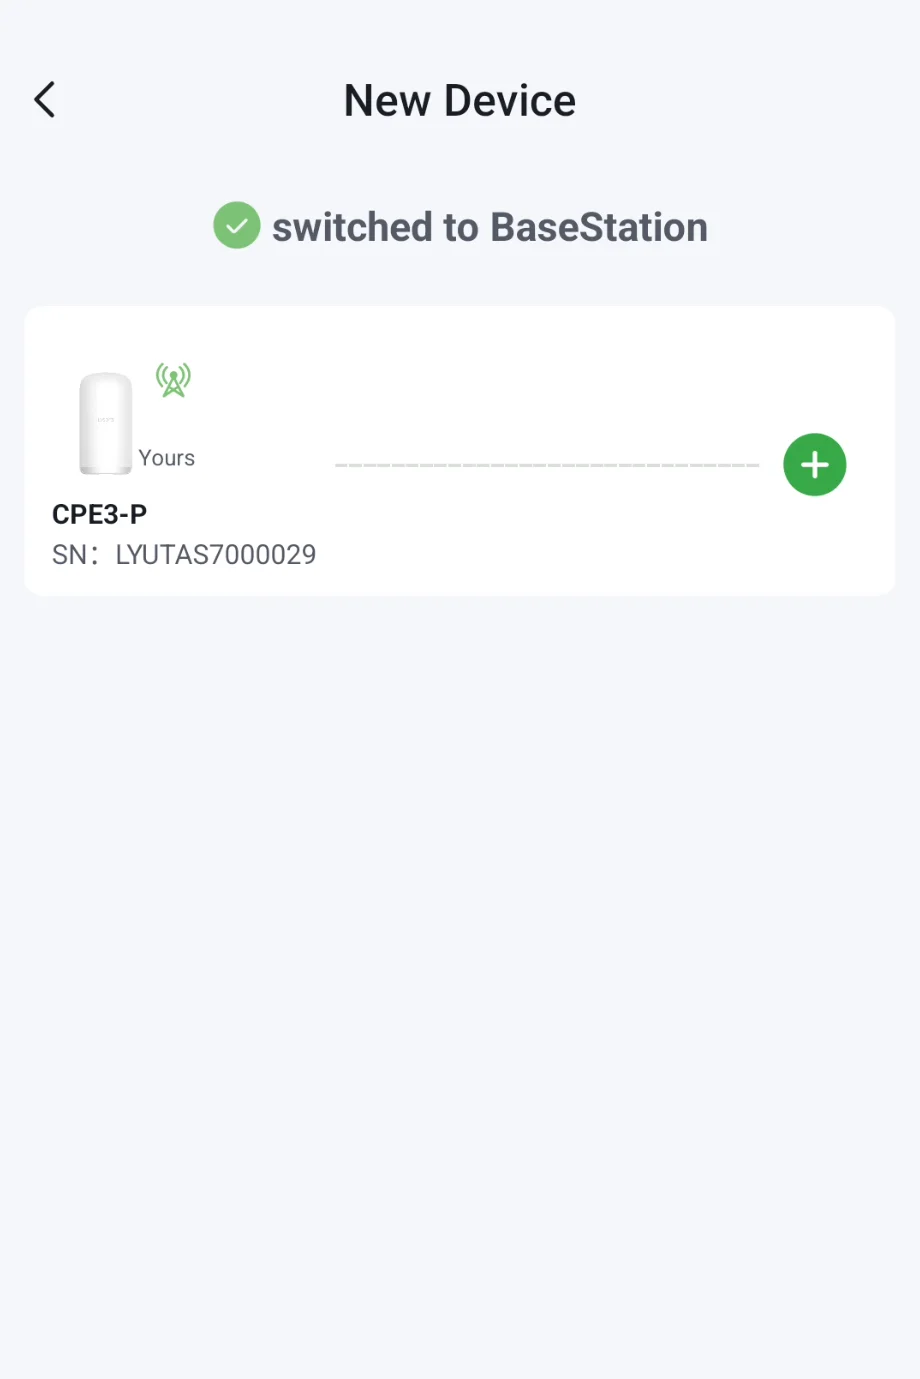
Then, repeat the exact same steps – but this time, connect to the management Wi-Fi of the second bridge and select CPE first instead of BaseStation first.
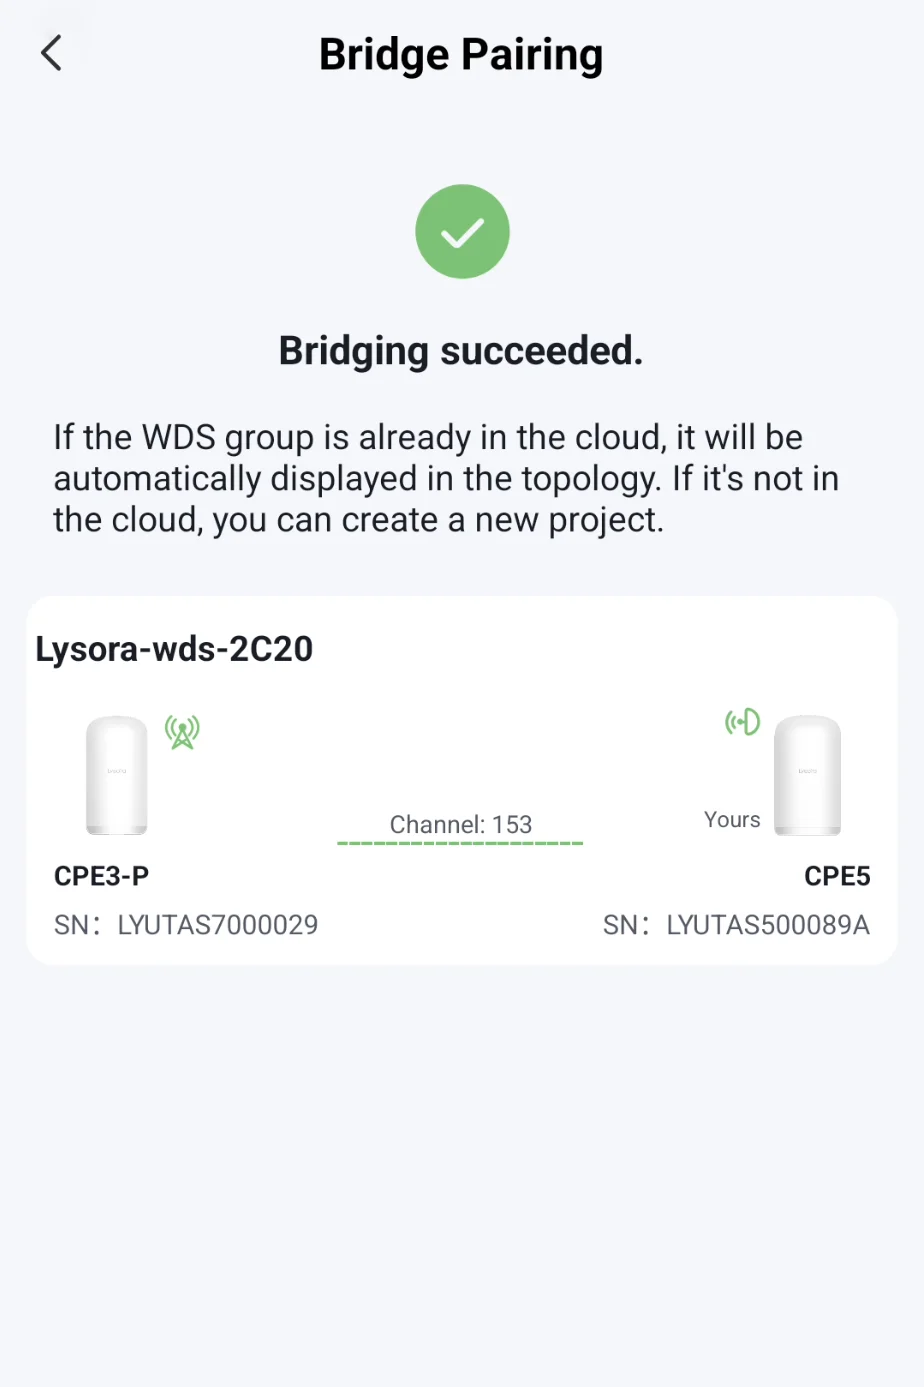
Once the bridge switches over to CPE mode, tap the Discover BaseStation button at the bottom and then select the BaseStation from the menu. If you don’t see your BaseStation in the list, make sure it’s still powered up. Click Start Pairing and after 1-2 minutes, you should see the message ‘Bridging succeeded’. At this point, you can power down both of the bridges and install them.
Final Thoughts
As a reminder, you can pair multiple CPE (transmitters) to a single BaseStation. The one-touch pairing button works best when both devices are fresh out of the box – whereas the manual pairing methods are helpful for adding a new bridge to an existing setup.
To learn more about Lysora’s wireless bridges, you can watch the video below – where we test them under real-world conditions to determine their stability, latency, and maximum speed.