
The easiest way to log in to your Lysora device is to connect it to your PC using an Ethernet cable or through the Wi-Fi (wireless APs and wireless bridges only).
Once your computer is connected to the Lysora device, you can input its IP into your browser’s address bar. The default IP addresses for Lysora devices are listed below:
- Routers – 192.168.100.1
- Managed switches – 10.100.111.200
- Wireless access points and wireless bridges – 10.100.111.254
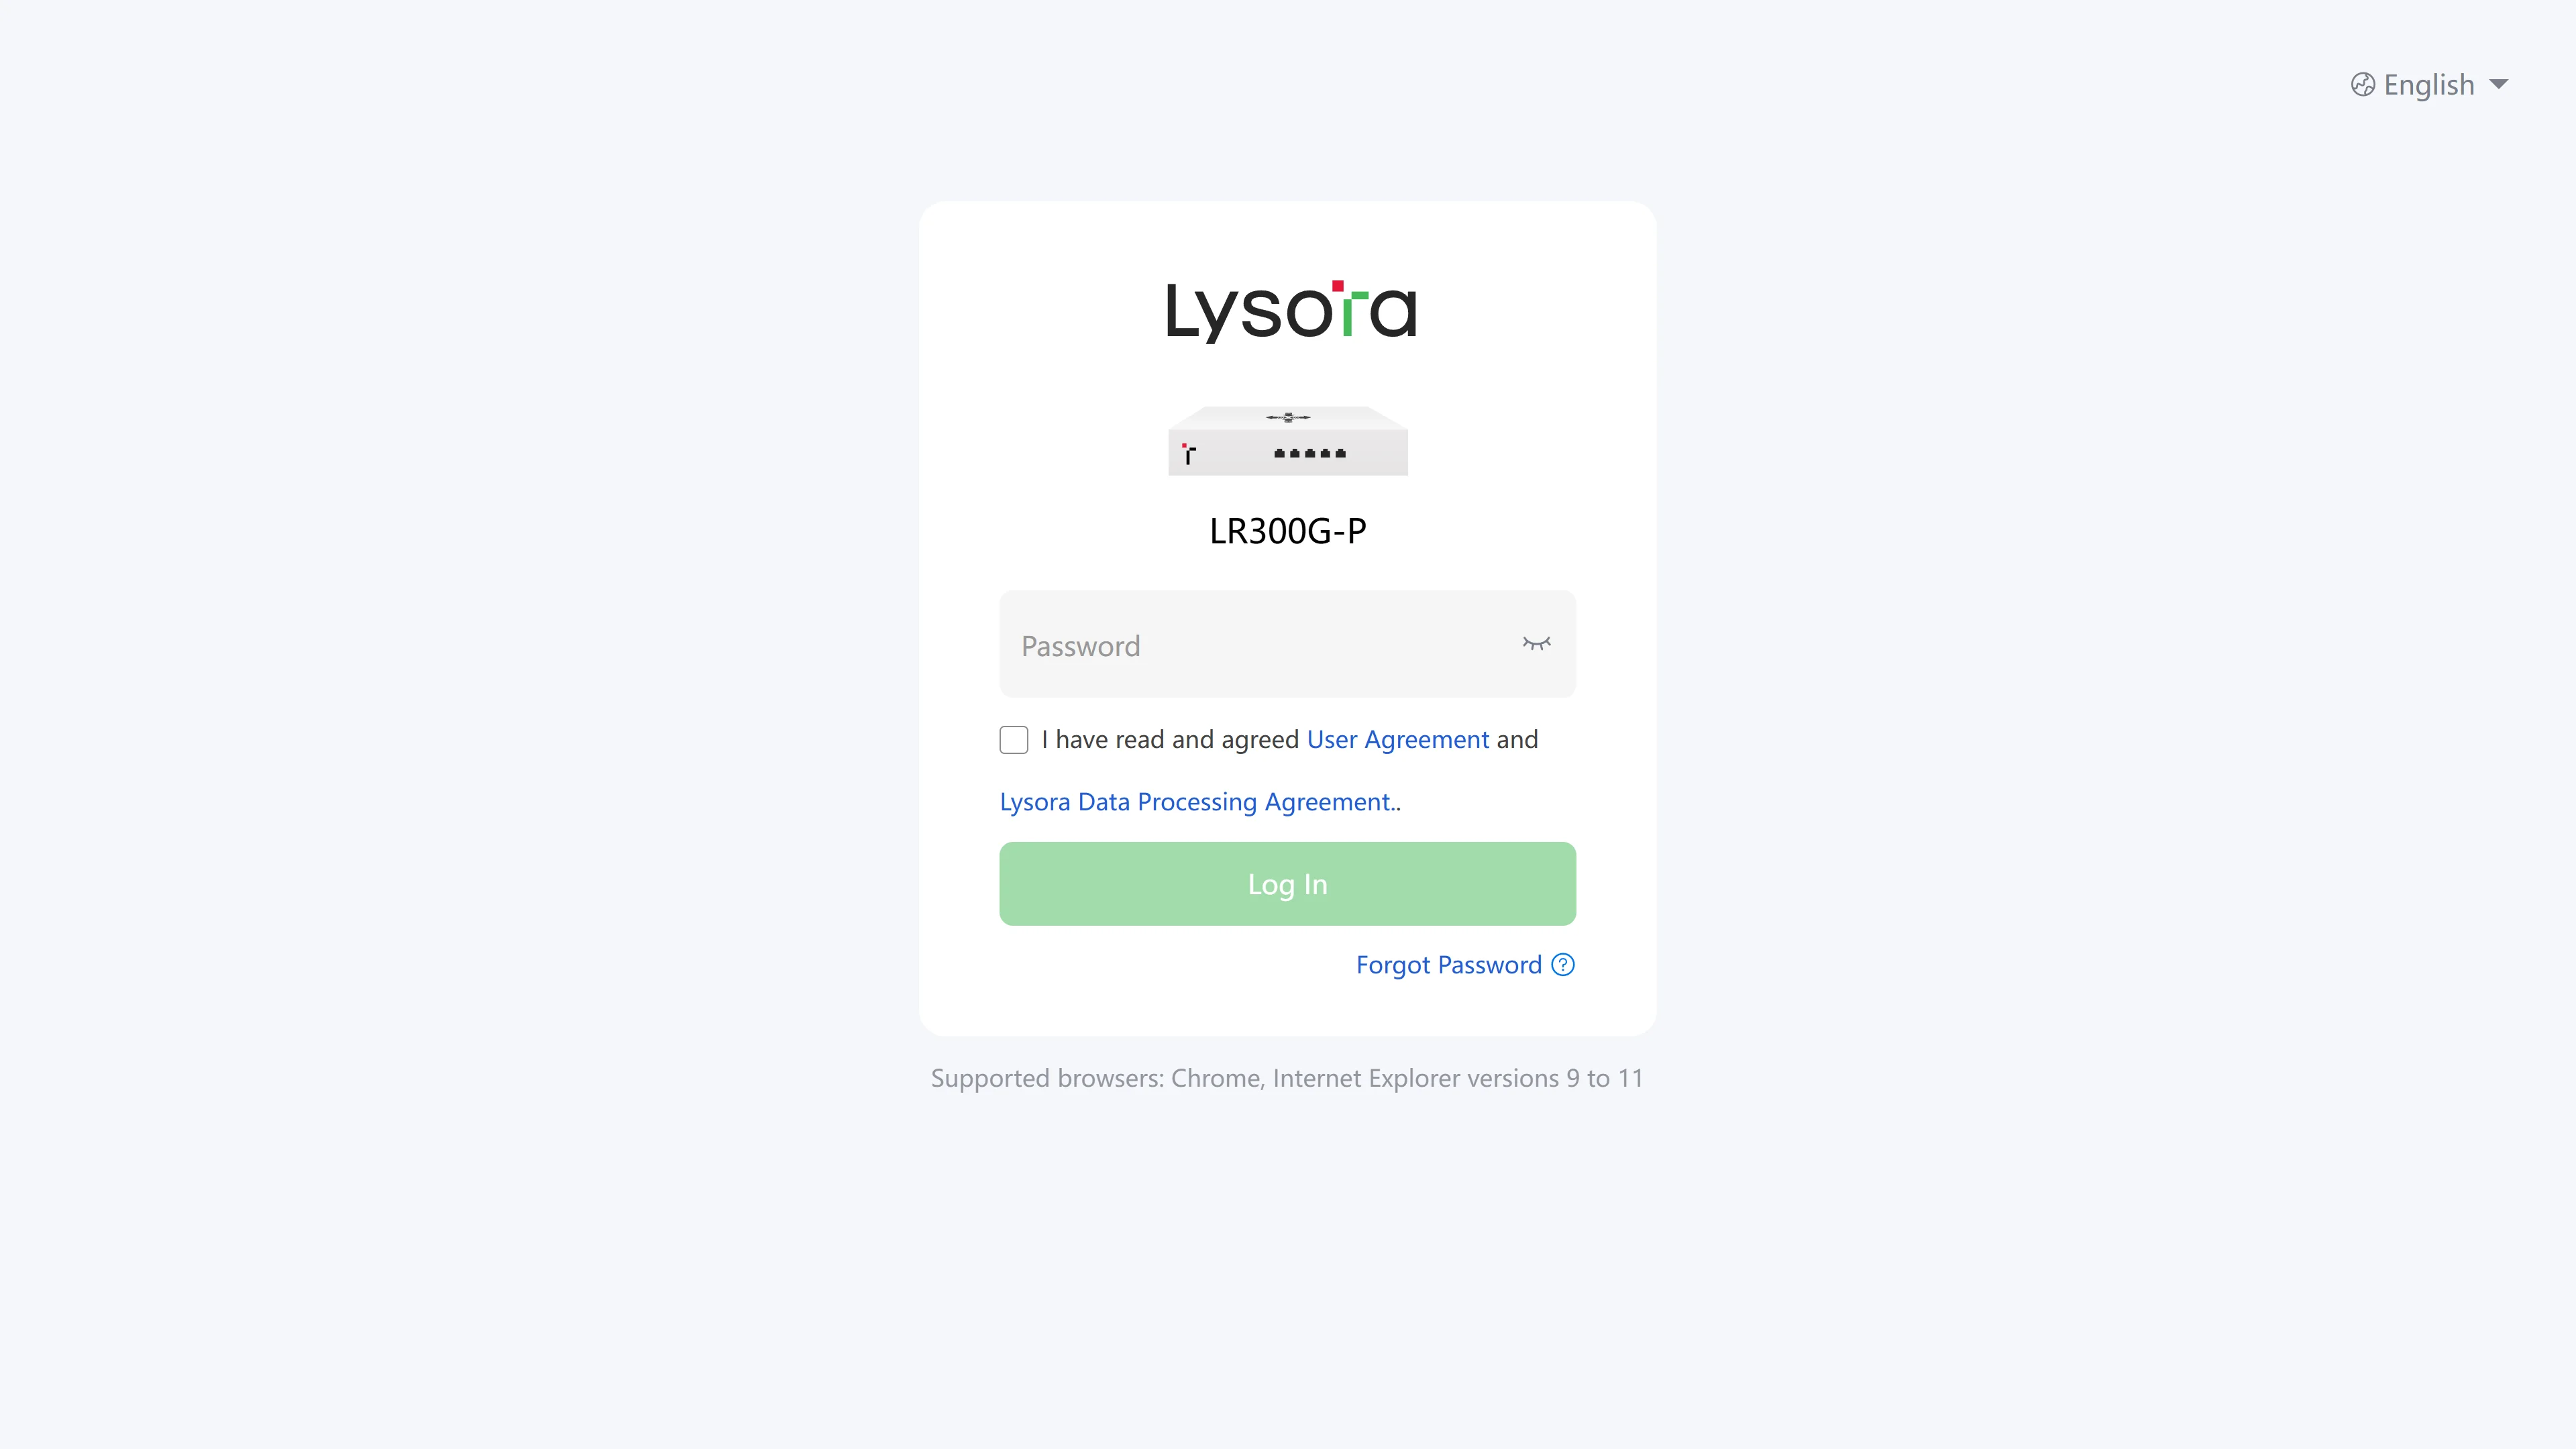
Copy & paste the correct IP address into your web browser and hit enter. You should be brought to the login screen for the device. The default password for all Lysora devices is ‘admin’.
What if the IP address for the device is not the default IP?
If the Lysora device has already been configured – or it’s been plugged into a router, then it might have a different IP address from the default one. In this case, there are a few ways to get the IP address.
- Factory reset the device using the reset button, then log in using one of the default IP addresses listed above. If you don’t care about the settings on the device, this is one of the fastest methods. You can always change the IP address later once you’re logged in.
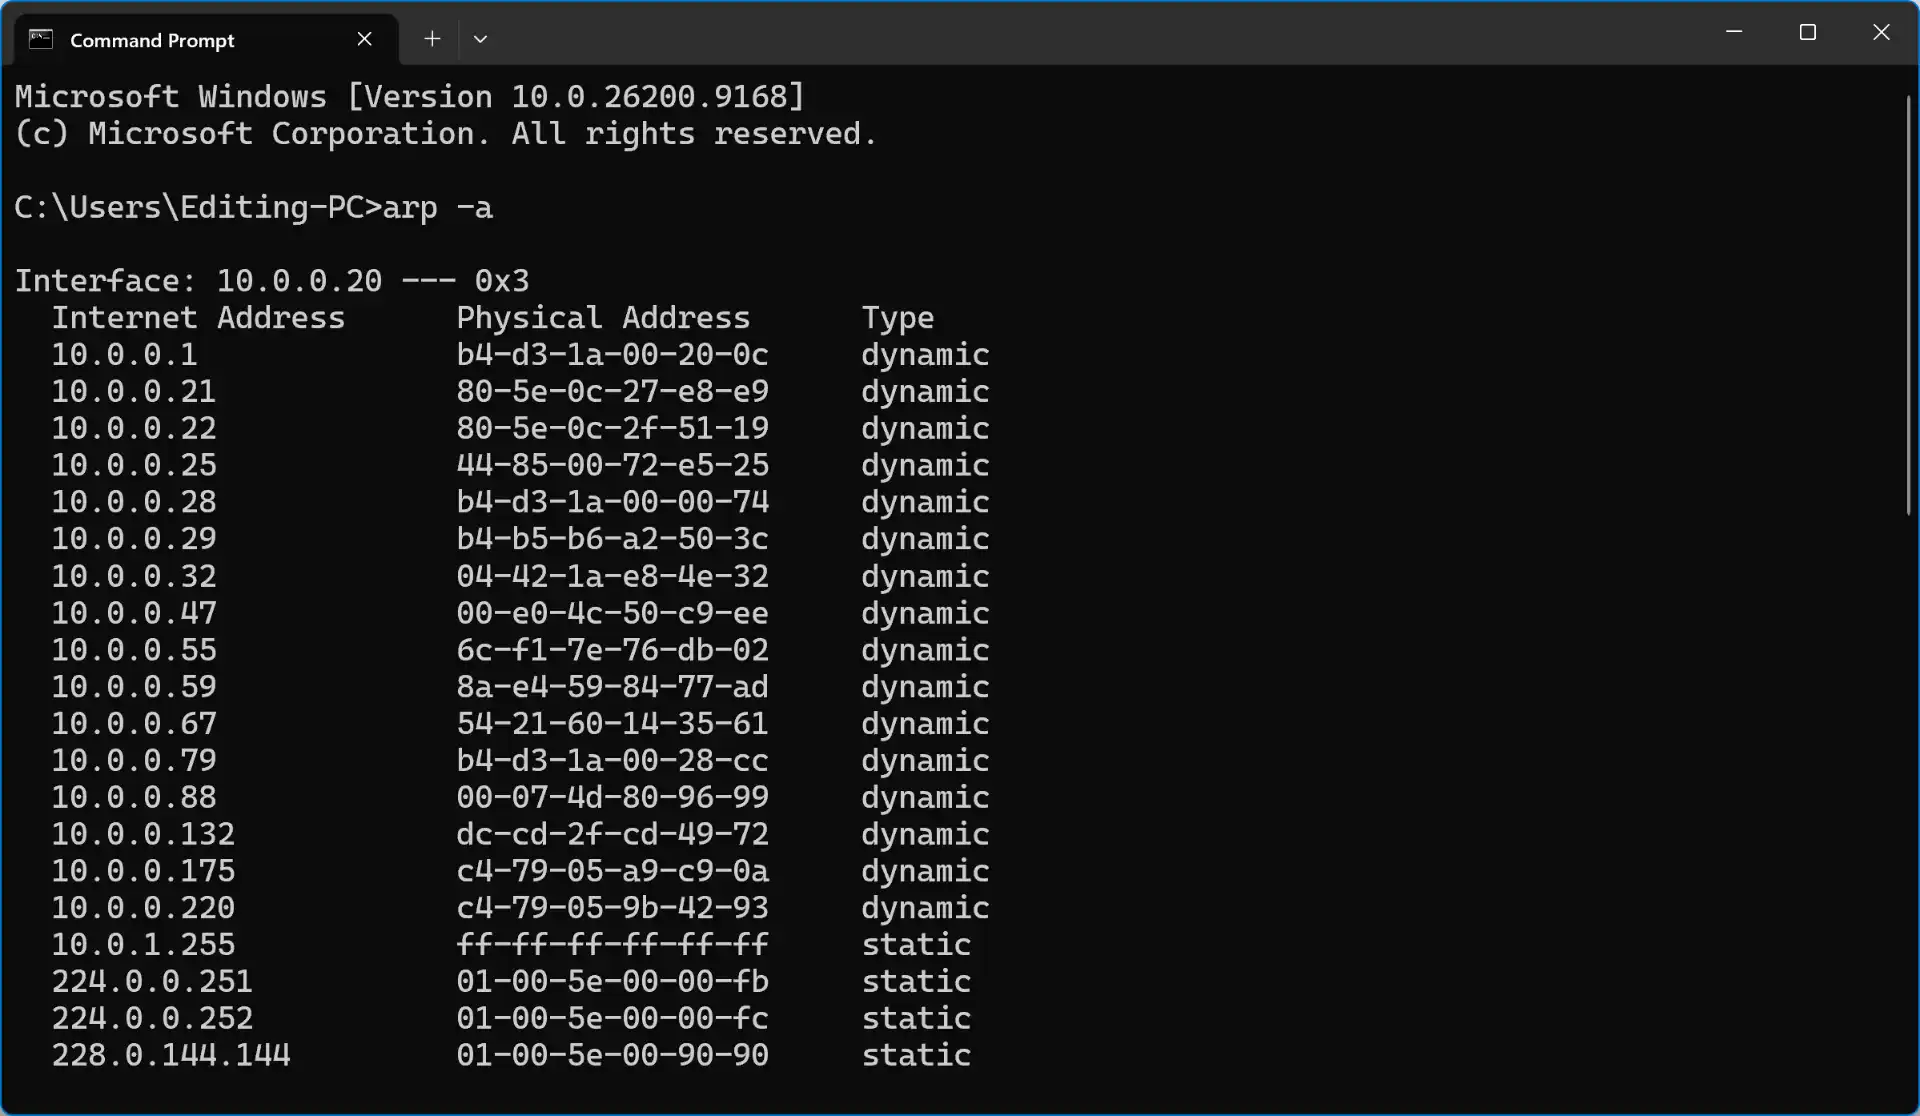
- Open the command prompt on your computer and type in arp -a – then hit enter. This displays the ARP cache, which is like a poor man’s IP scanner. It only lists the devices your PC has recently communicated with, so there’s a chance it won’t show your Lysora device. Still, it’s worth a try, since it only takes a second to run.
-
- Connect your PC to the device, open command prompt, and run ipconfig to find the default gateway. The default gateway is the IP address of your router – so if you’re using a Lysora router, you can enter this IP address into your browser to reach the login page.
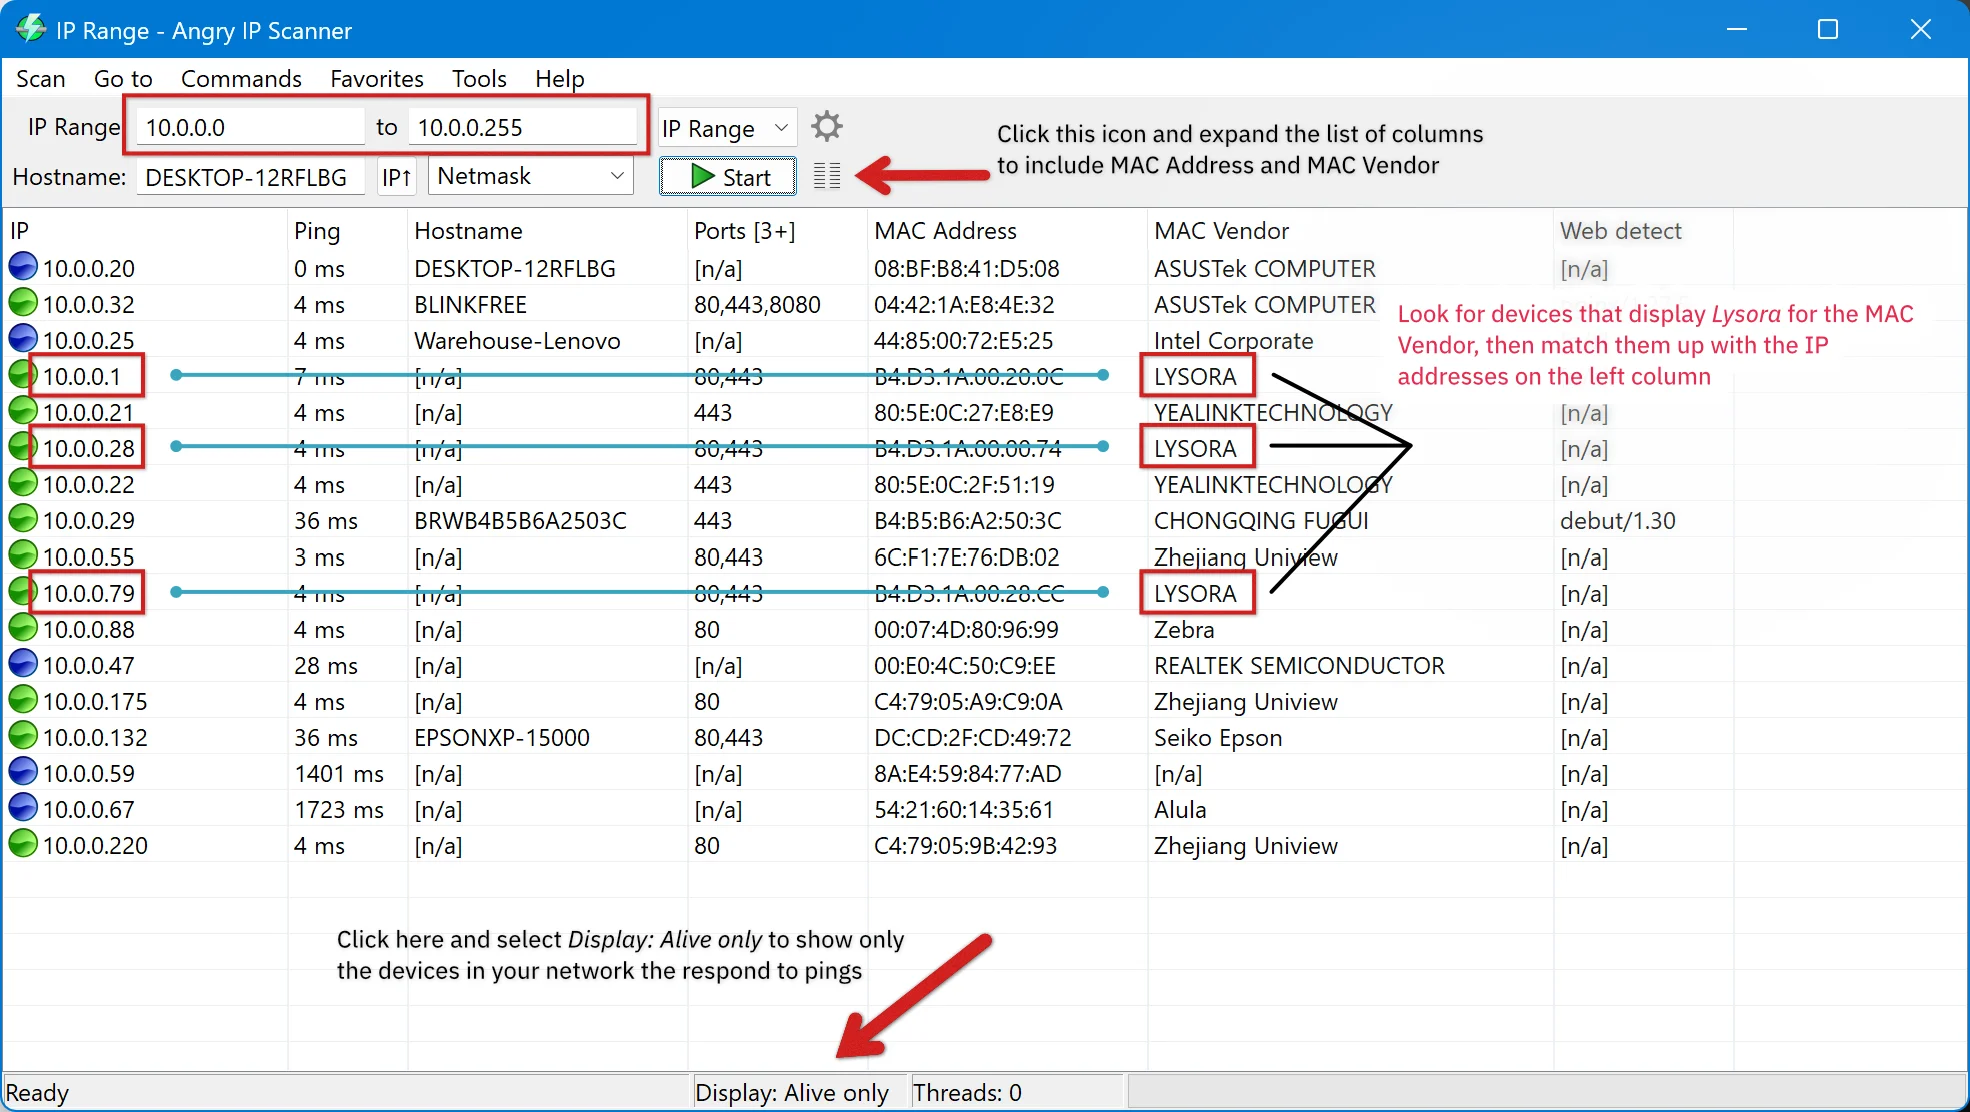
- If you’re trying to find the IP address of a device that’s not a Lysora router – such as a Wi-Fi access point or managed switch – you can run an IP scan using a tool like Angry IP Scanner to find the IP address of all devices within the same network.
After opening the IP scanner tool, you can manually enter an IP range to scan. Based on the default gateway you discovered in step 3-a, you’ll enter that IP range at the top left, then click Start to scan the network for all your other Lysora devices. For example, if the default gateway is 10.0.0.1, then you should scan the IP range from 10.0.0.0 to 10.0.0.255.
- You can log in to your router to check for the list of clients connected to it. It doesn’t have to be a Lysora router – most included routers from your ISP should allow you to log in and see a list of client IP addresses.
Further troubleshooting: Still not able to reach the login page?
If you’ve tried all of the steps above and you’re still not able to reach the login page of your device, here are some additional troubleshooting steps:
- Check your device is plugged in and connected properly: Sometimes the simple answer is that your device may not be powered up – or it is getting power but it’s not plugged into the network. Recheck the power and cable connections before moving further.
- Try a different browser (or an incognito window): Sometimes browsers can cache information from an old device, which prevents them from loading properly. To avoid this issue, try a different browser than you typically use – or simply try opening the page in an incognito window – avoiding the cache altogether.
- Make sure your PC is set to a static IP address: If you’re logging into a switch, access point, or wireless bridge, then you’ll need to set your computer to a static IP address within the same subnet as the device you’re trying to access. For example, since the wireless bridges has a default IP address of 10.100.111.254, then you can set your computer to 10.100.111.100 with a subnet mask of 255.255.255.0.
The fastest way to set your network adapter to a static IP address is by typing Network Connections into the Windows start menu at the bottom left. Click the icon that says View network connections – Control panel, which will open the network connections tab.
From there, right click on your network adapter (typically Ethernet or Wi-Fi) and go to Properties –> Internet Protocol Version 4 (TCP/IPv4) –> Properties then choose Use the following IP address and enter an IP address that’s within the same subnet as the device you’re trying to access. Click OK, then close out of the network settings tab fully to apply the settings.
If all else fails, please contact Lysora’s technical support team using the link below:
https://www.lysoratech.com/contact-us/
Or, if you bought the equipment from us at XLR Security, please give us a call or send us an email so we can help you get your Lysora equipment set up and working properly.
