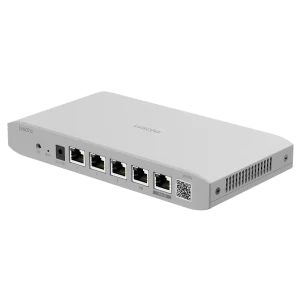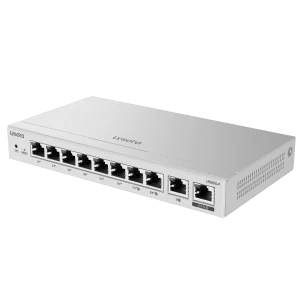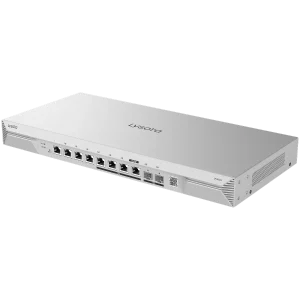
So, you’ve purchased a Lysora router, opened the box, and now you’re scratching your head and wondering how to set it up. No worries – I’ll walk you through all the steps involved with setting up a Lysora Router. After reading through this article, you should be able to get everything up and running within 10 minutes.
Connect the router to your modem or router (provided by ISP)
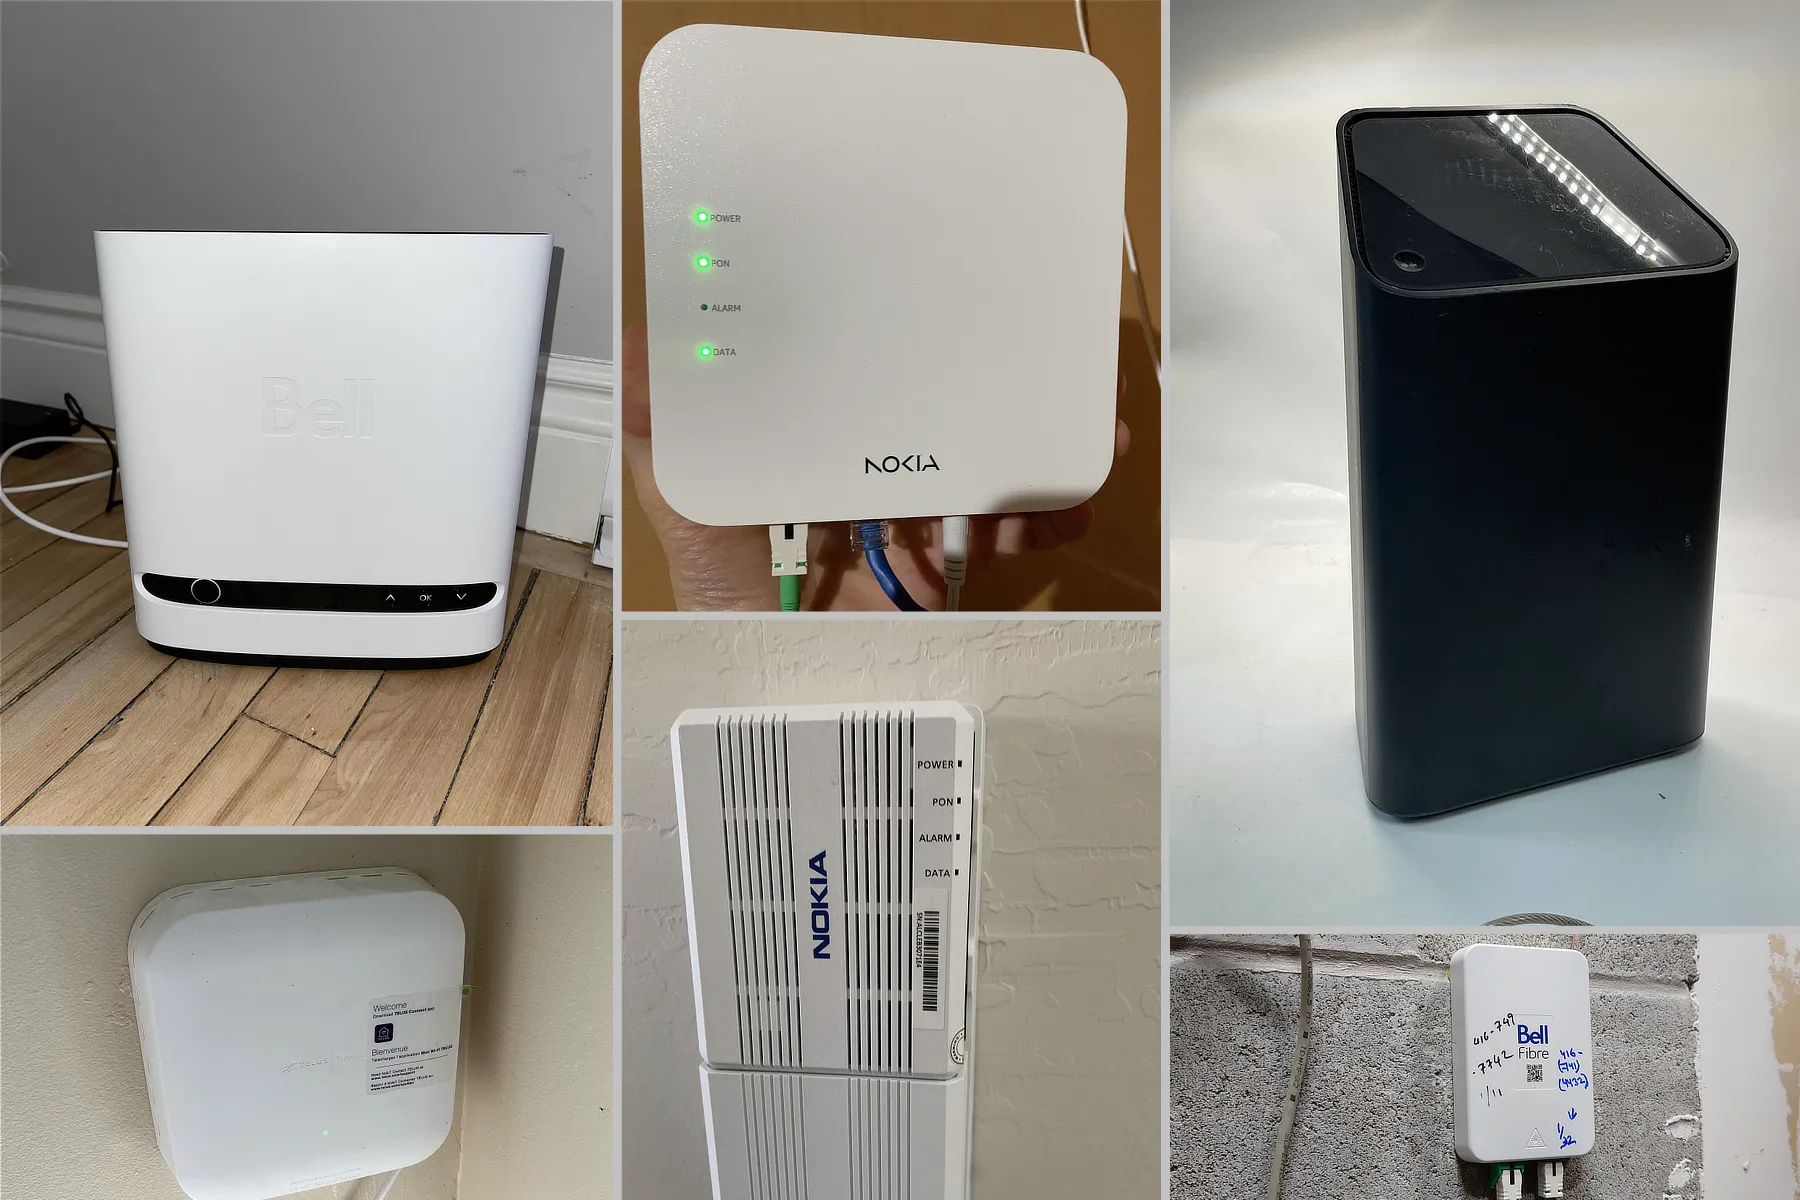
The Lysora router doesn’t create internet by itself. You have to connect it to the modem or router that was provided by your ISP (internet service provider). This usually looks like a white or black box with green or white lights, which indicates that the internet is working and powered on.
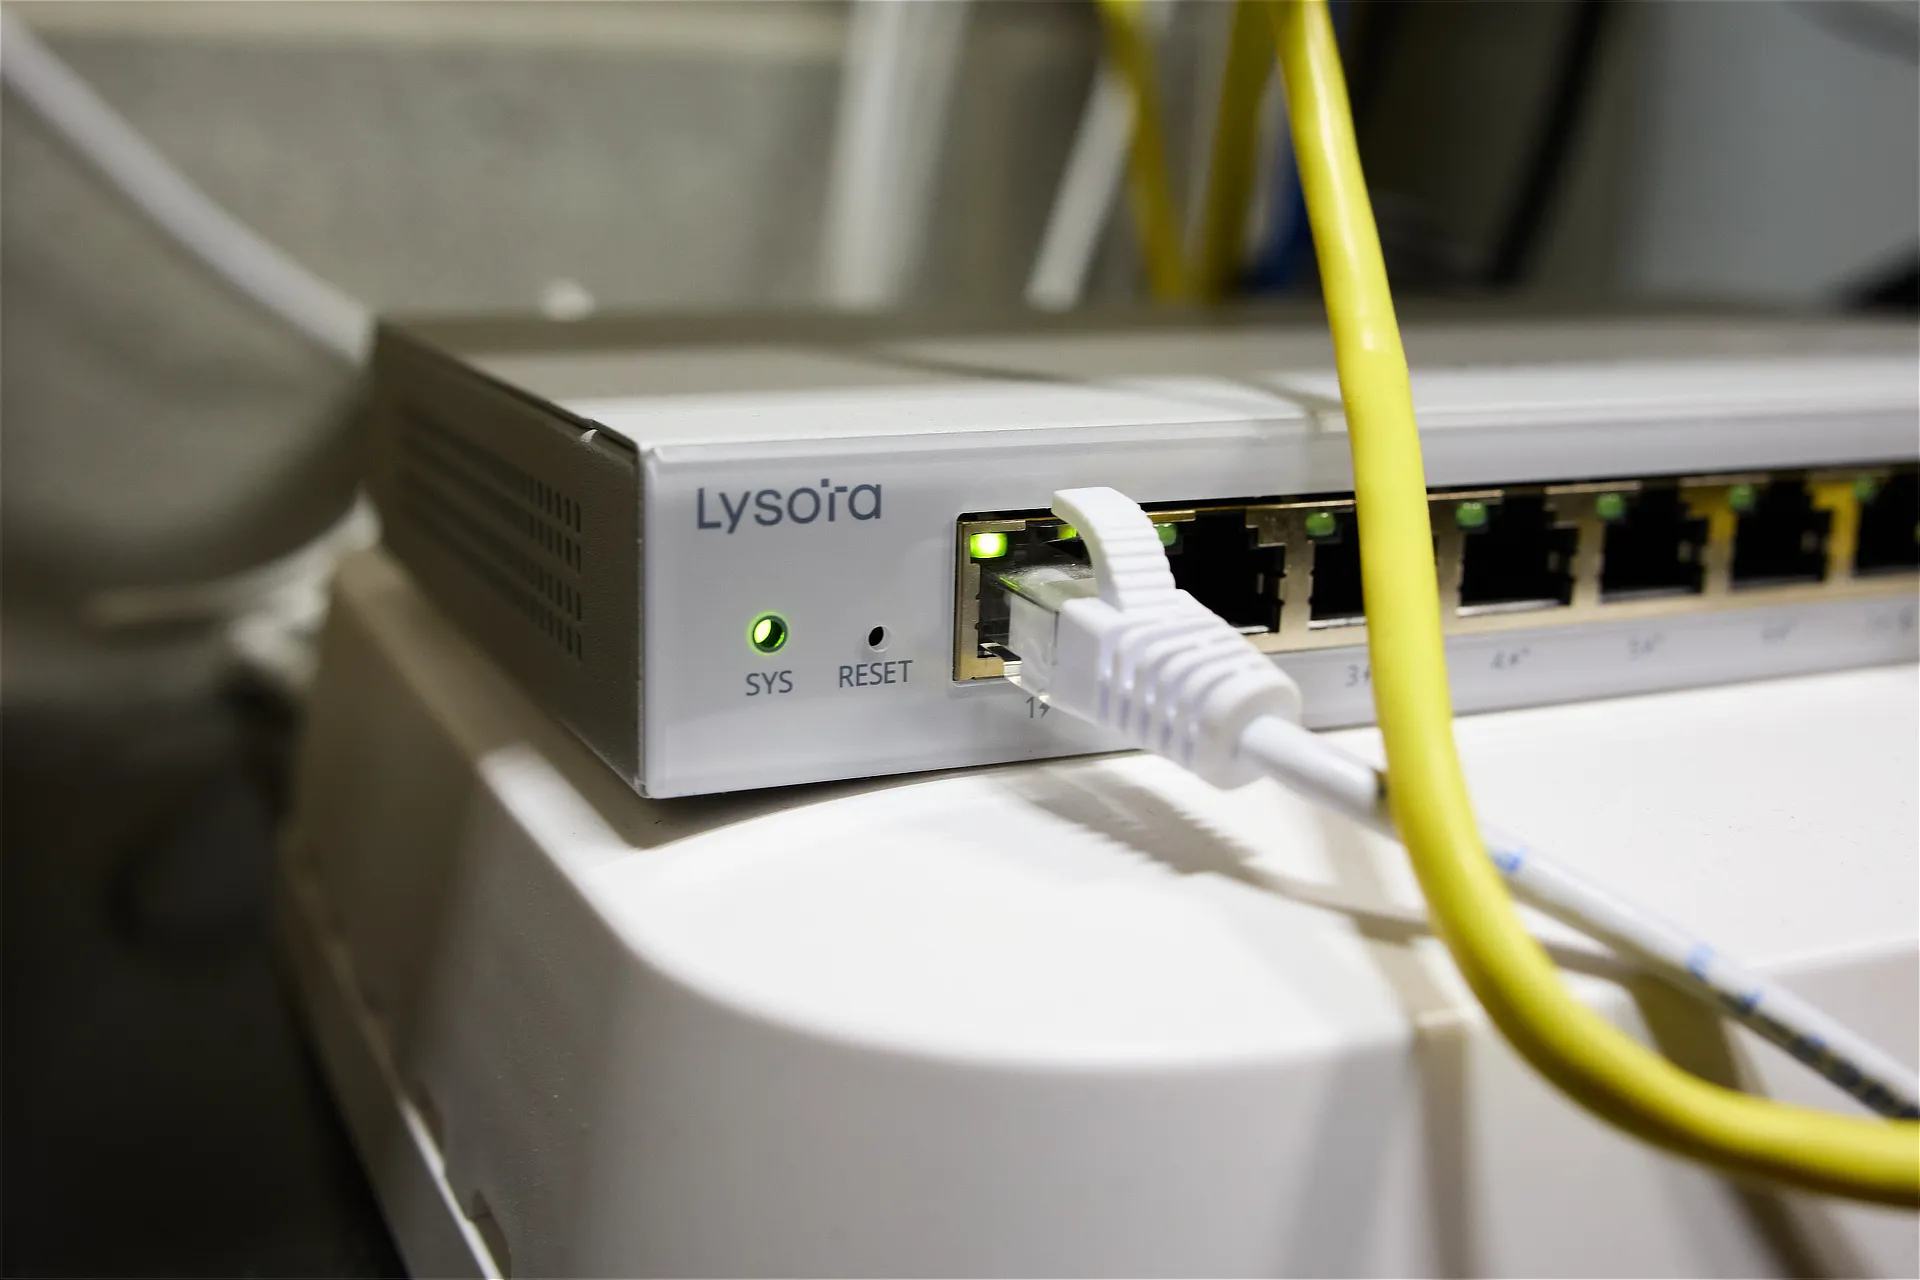
You’ll have to connect the Lysora router to the internet modem, so ideally they should be located in the same area. Then, you can connect a short cable from the LAN port of your ISP’s modem to the WAN port of your Lysora router – which is usually the port at the far right.
Once your Lysora router and internet modem are connected, you’ll need to connect your laptop to one of the LAN ports on the Lysora router. Then, open your web browser and navigate to 192.168.100.1. This is the router’s default IP address.
If you see a warning that says your connection isn’t private – no worries, that’s completely normal. Just click Advanced, then Continue to 192.168.100.1, to skip the warning and reach the web interface of the Lysora router.
Set up from web interface of Lysora router (192.168.100.1)
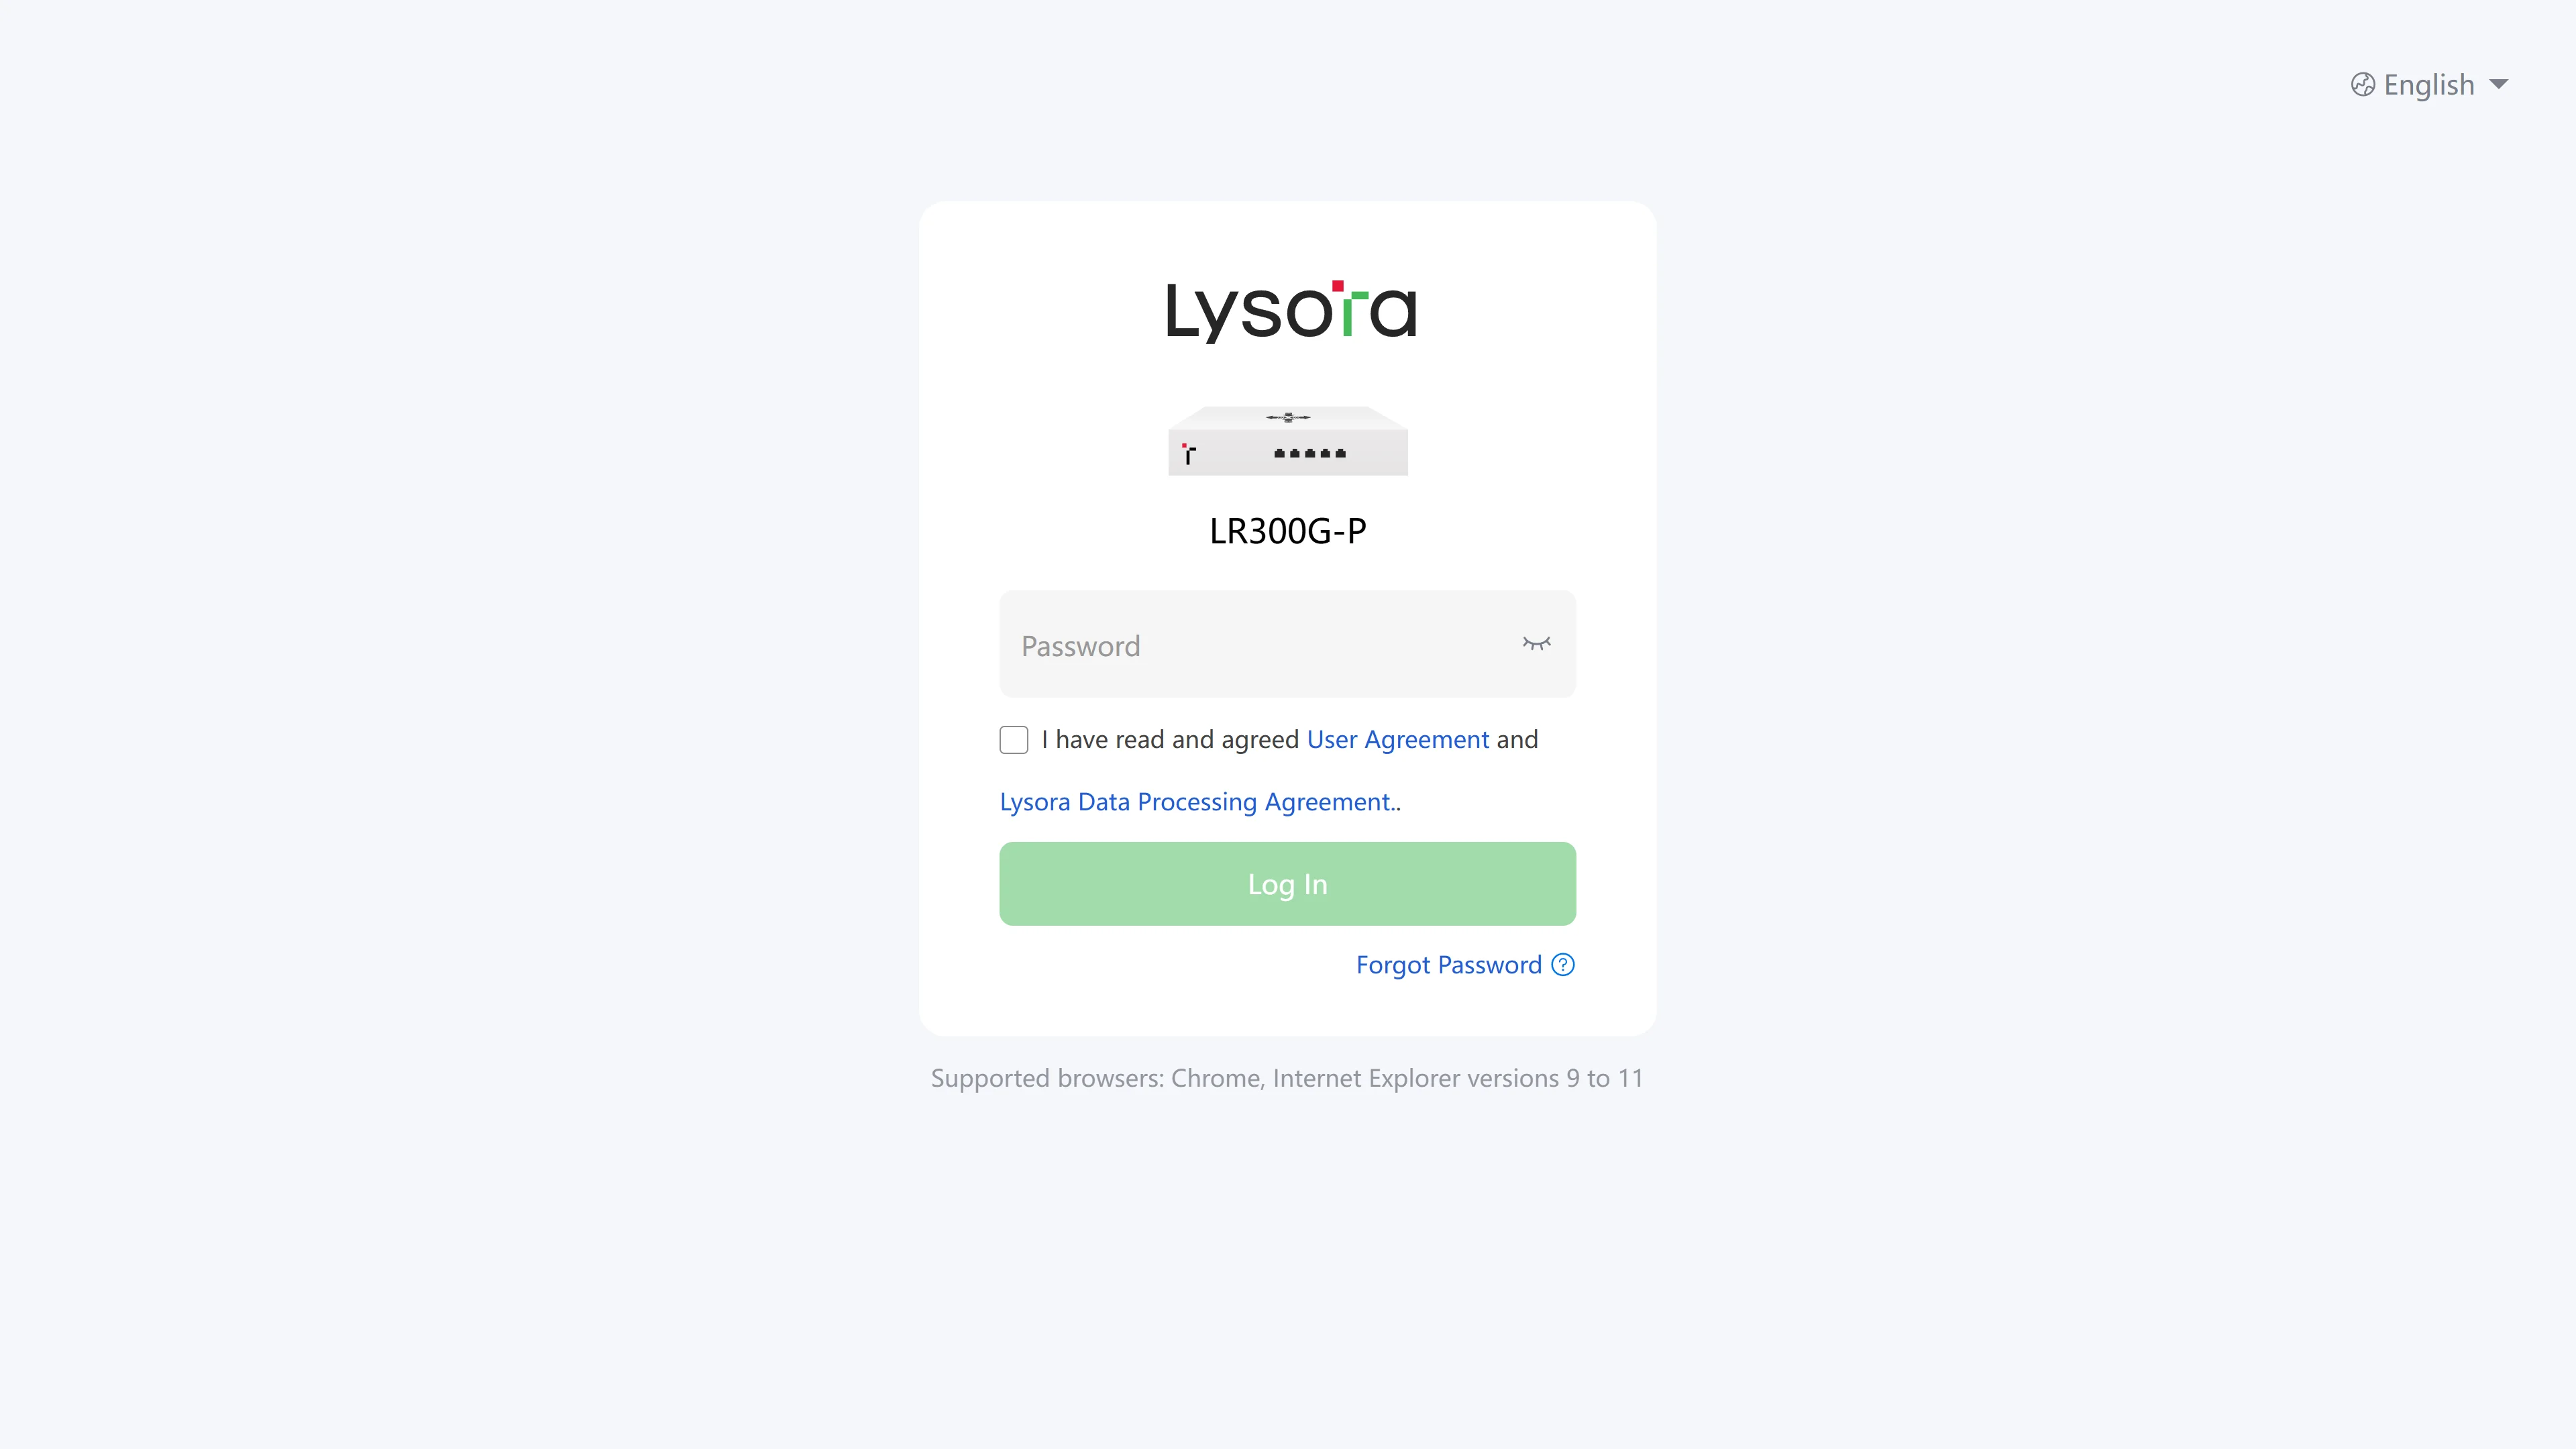
Once you’re in the web interface, you can log in with the default password of admin. Then, you’ll have to set a stronger password. If you forget your password in the future, you’ll have to factory reset the router – so be sure to note it down somewhere for future reference.
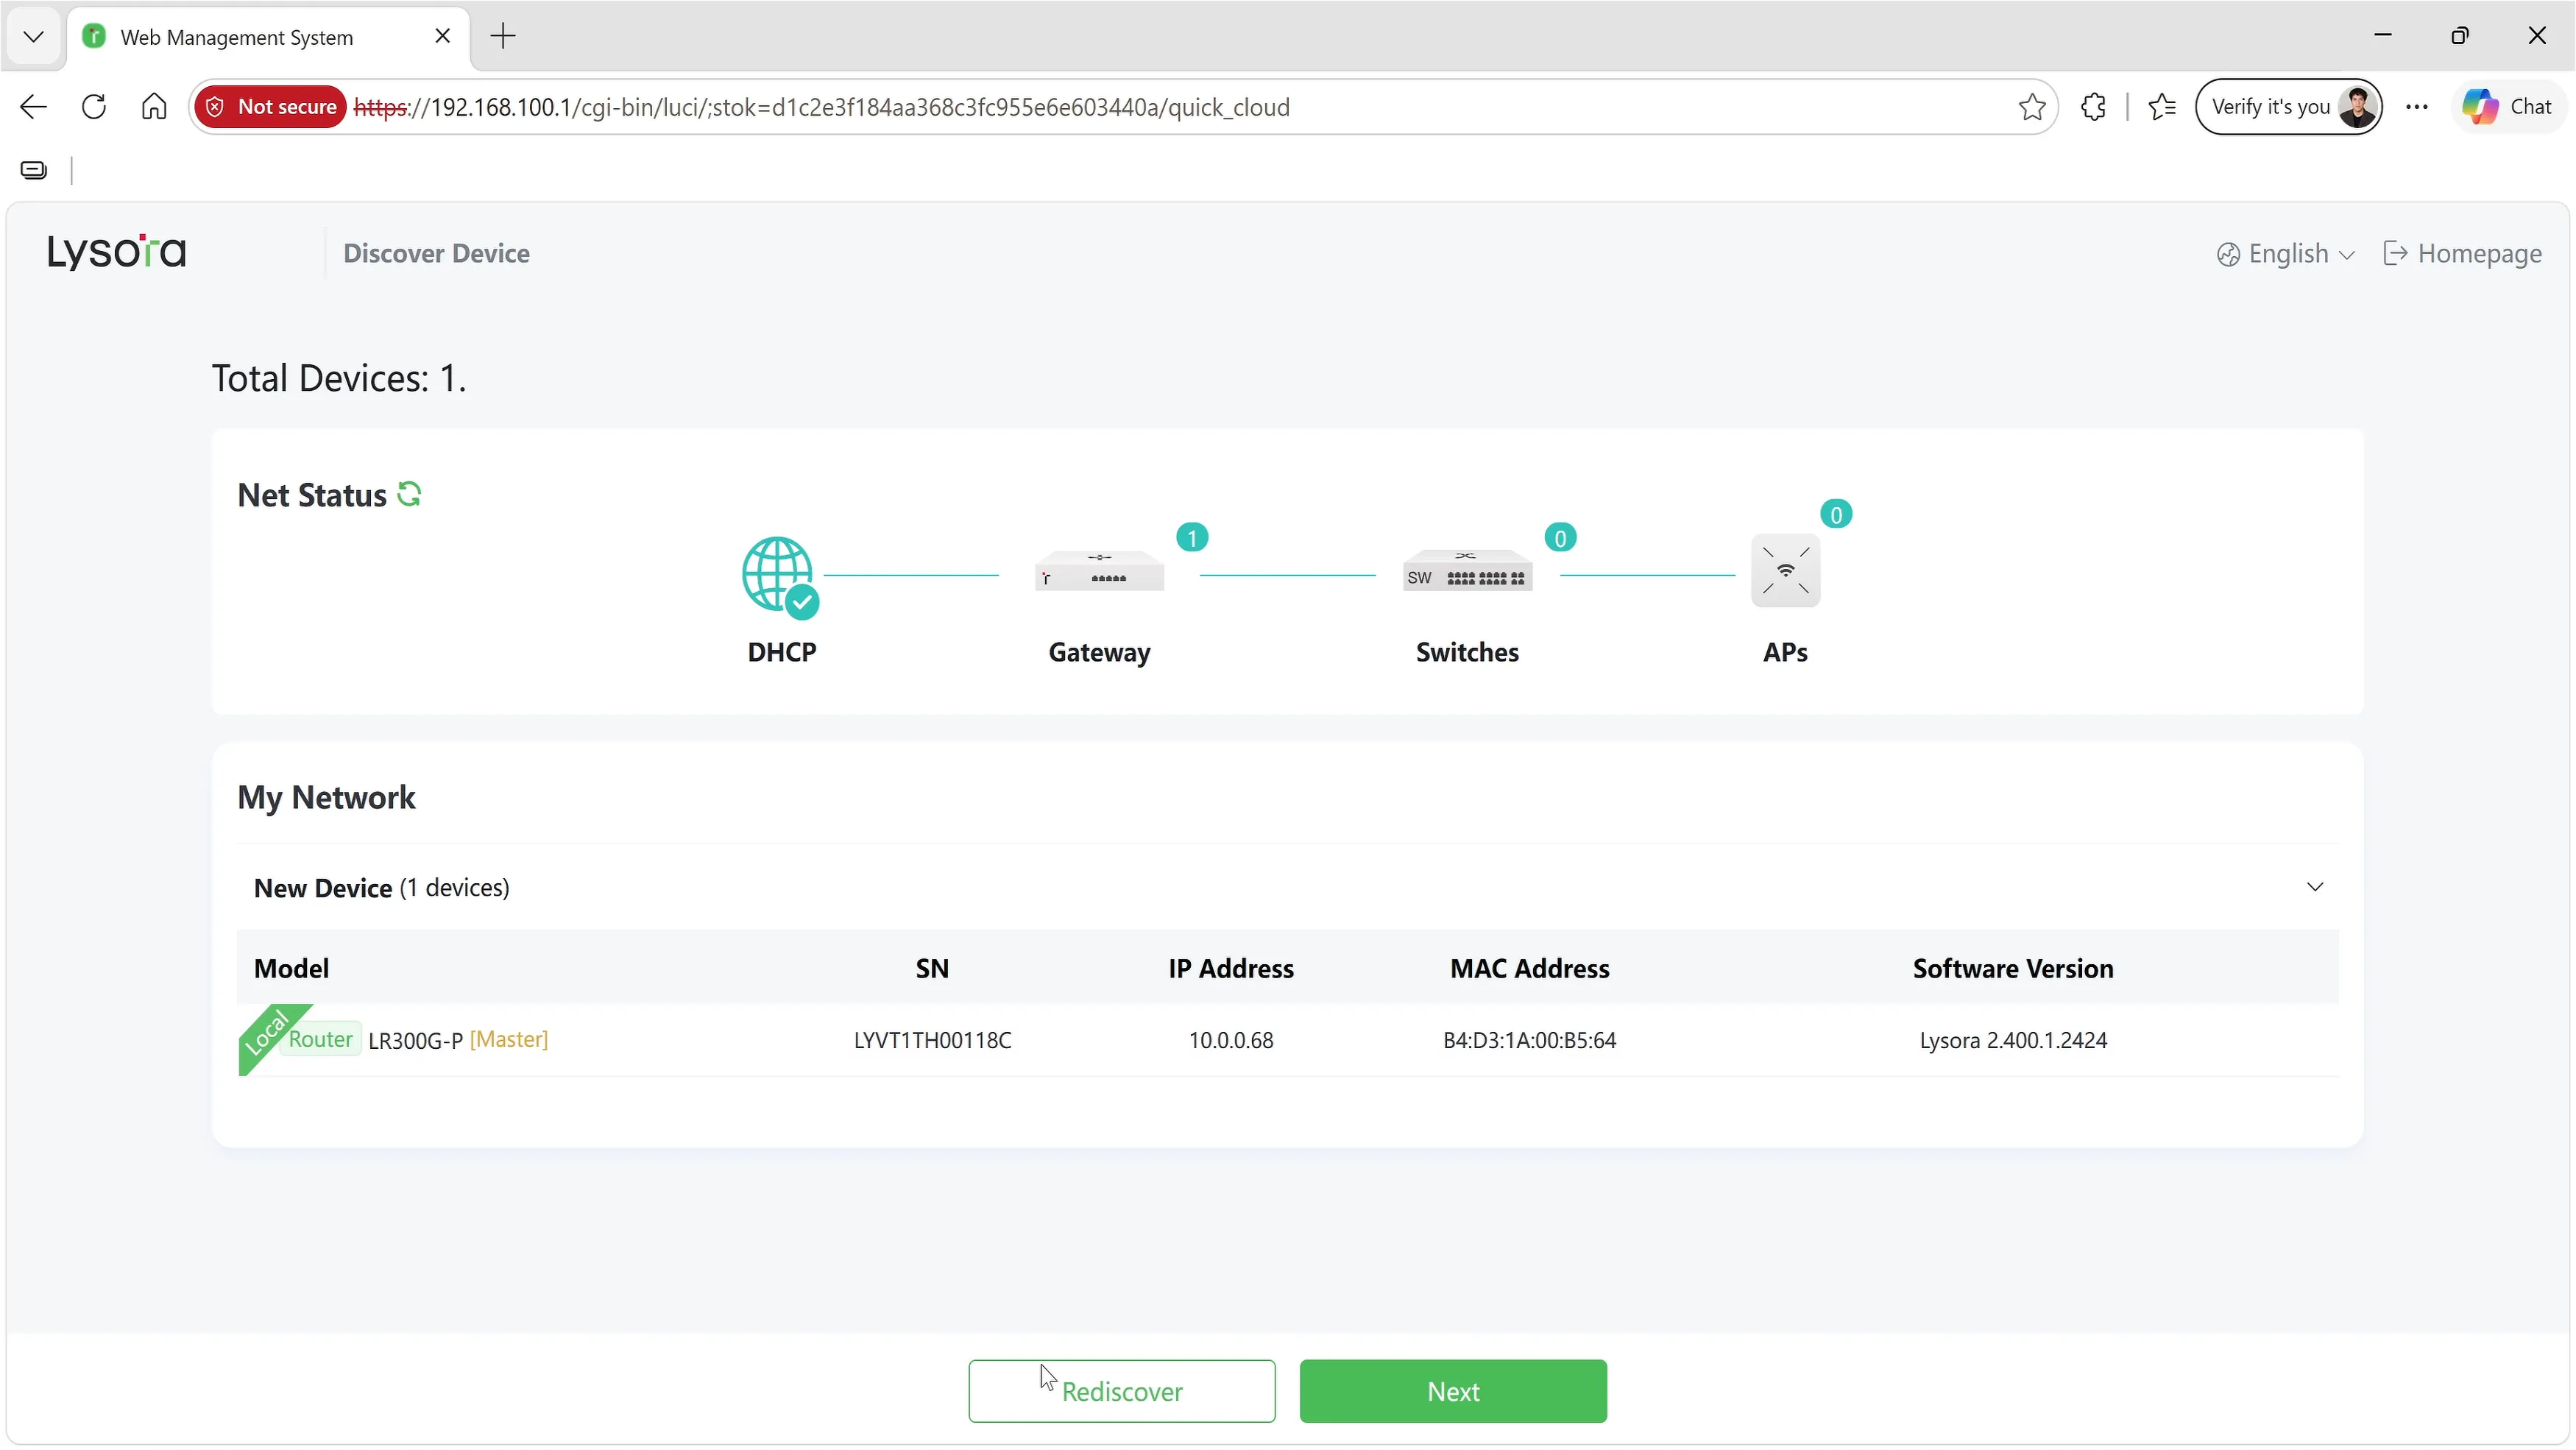
Next, you’ll see the device discovery page. If you have multiple Lysora devices in the same network, the router will act as a controller for everything else. You can always discover the devices later, so we’ll skip this step for now and click next.
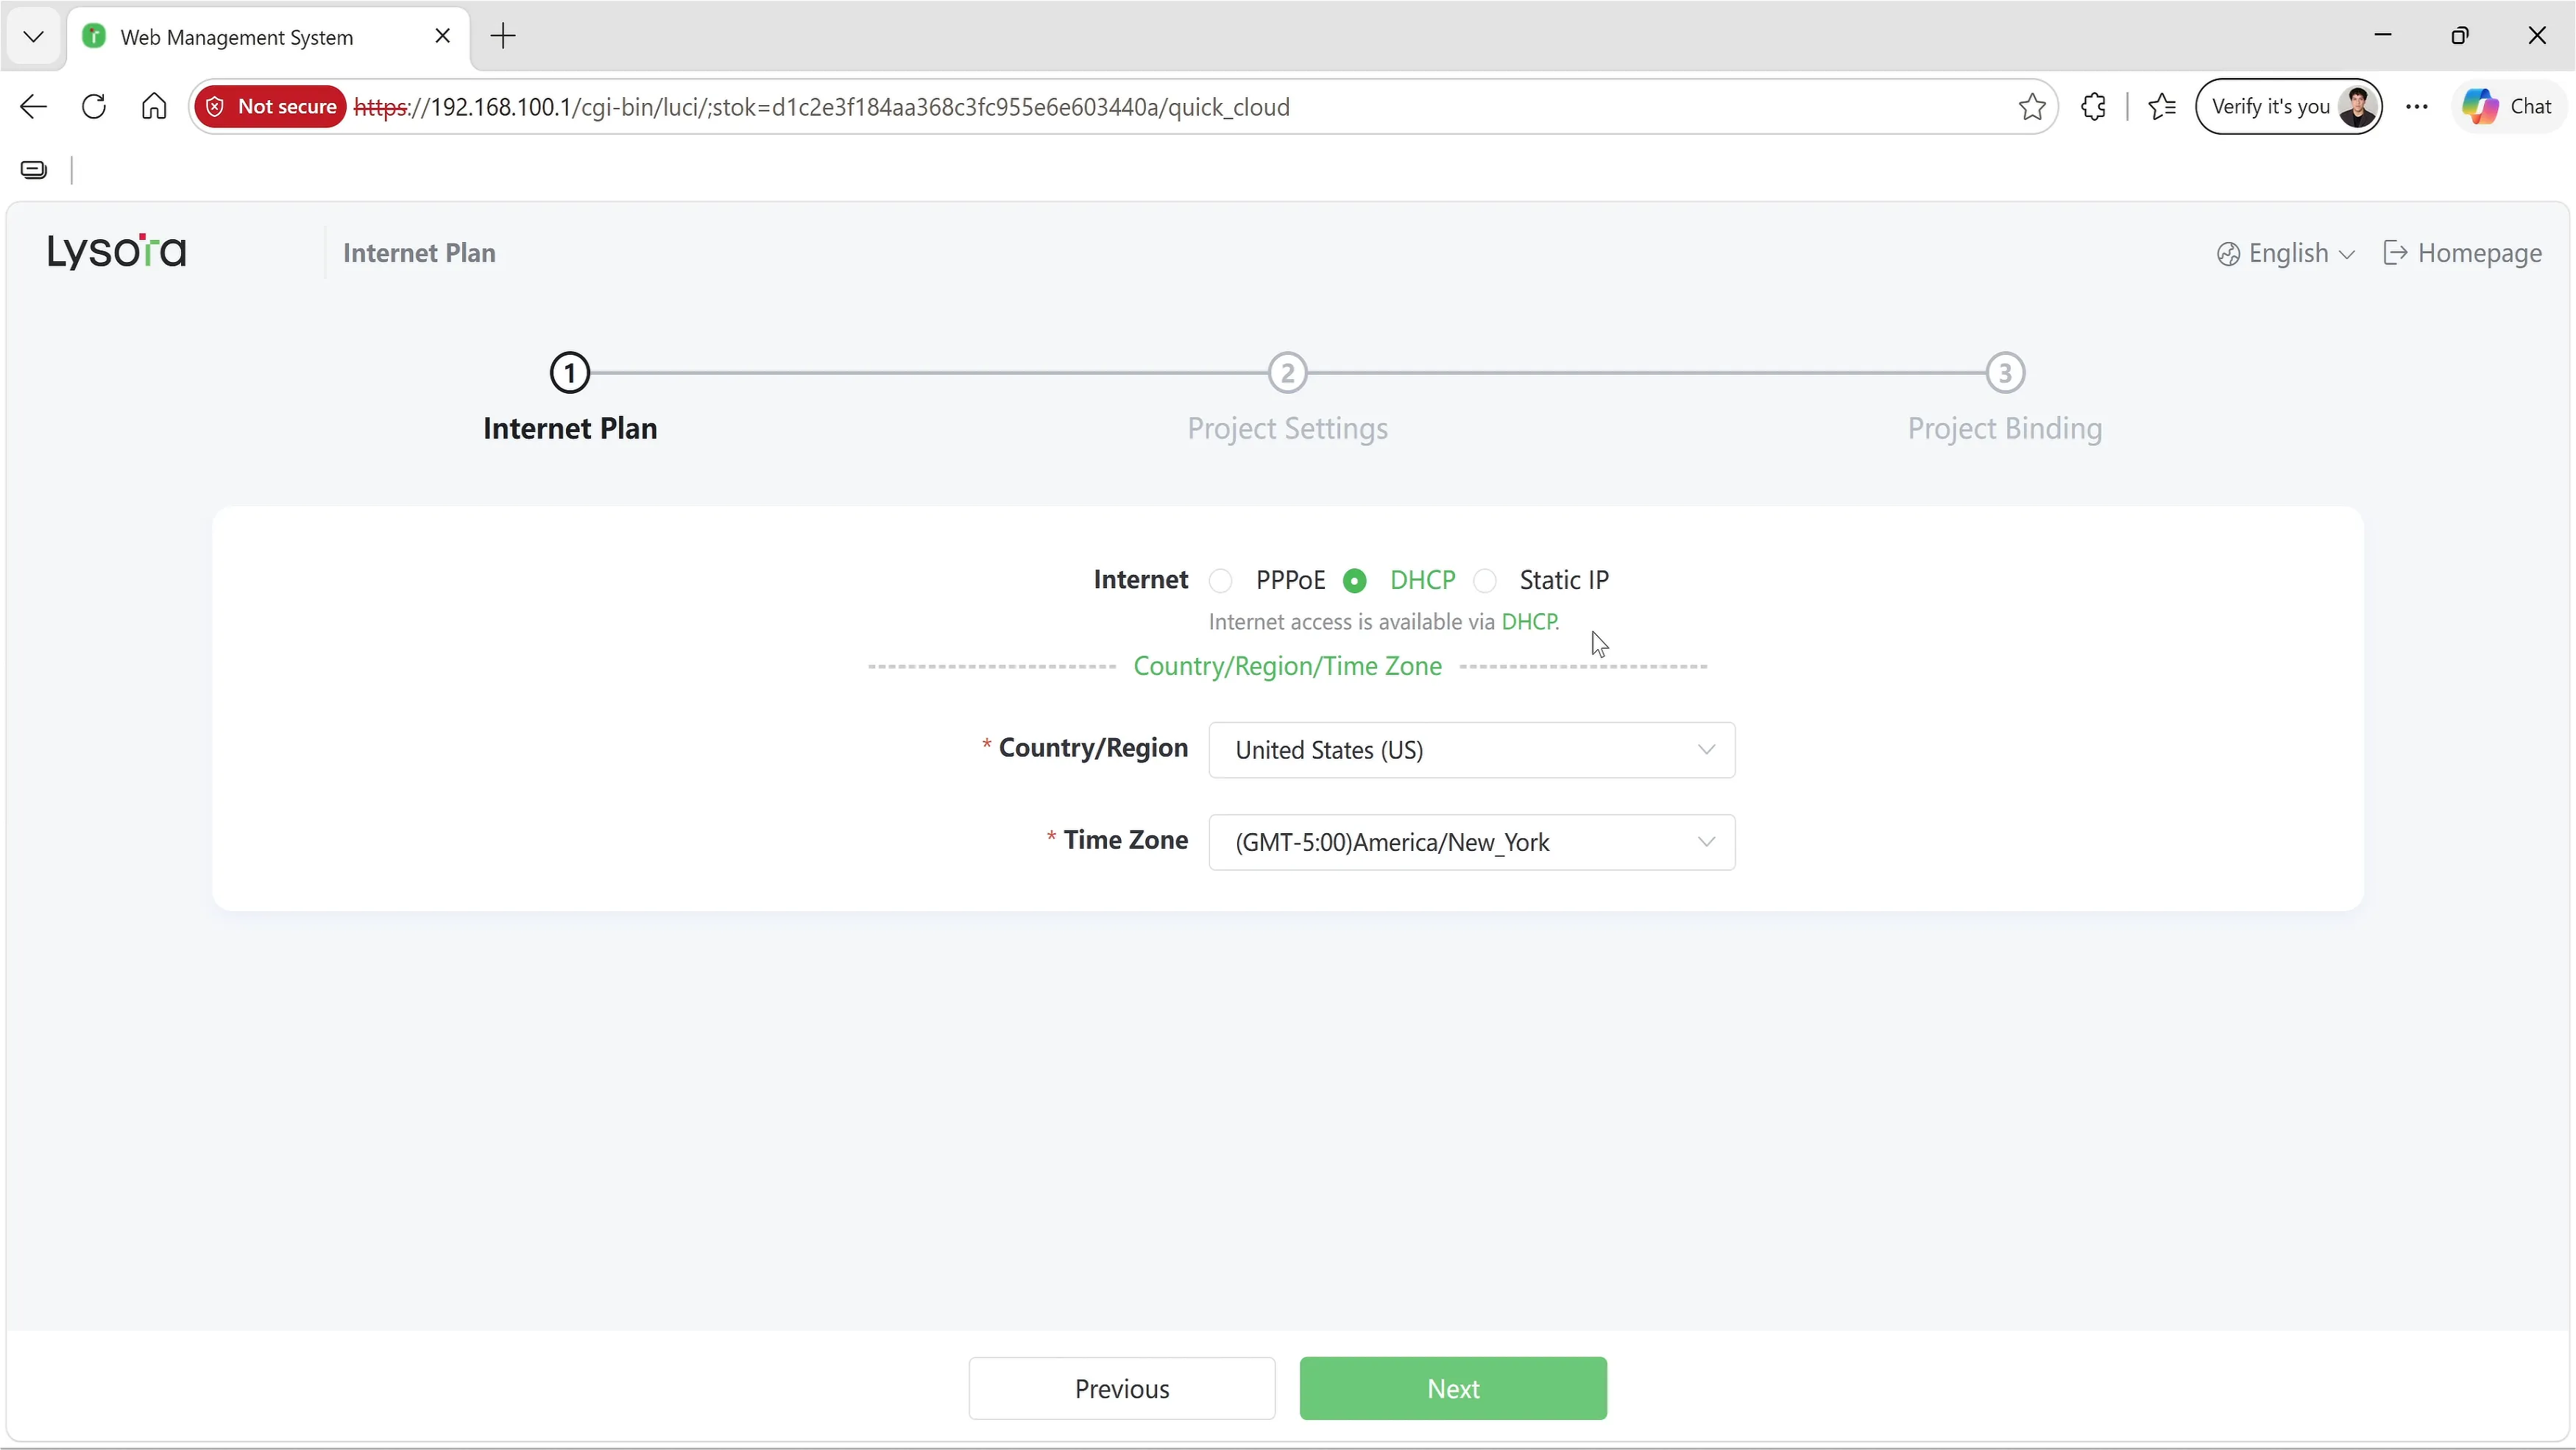
On the next page, you’ll need to choose how the router is getting internet. You can select between PPPoE, DHCP, and Static IP. If your ISP uses PPPoE (Bell, for example), this is where you’ll enter the username and password. Or if it’s a static IP, you’ll have to enter the IP address, subnet mask, gateway, and DNS servers supplied by your ISP.
In most situations, you’ll probably be fine selecting DHCP, but if you aren’t sure then you can check with your ISP (internet service provider). The Lysora router will do a quick check if the internet is reachable – then you can set the time zone and click next.
Next, you’ll have to set up a project name. You can name it whatever you’d like – the name will show up once the router has been added to the Lysora Cloud. If you’re managing the network for a lot of customers, you can name it something that makes sense for you – such as the customer address or company name.
After setting the project name and clicking next, the configuration will get pushed to the router. After 20–30 seconds, you should get a message saying the initial setup has been completed and the device can connect to the internet.
The router is now working and you can start connecting devices such as computers, wireless access points, etc.
If you want to configure additional settings, click on the Homepage button at the bottom. This will bring you to the router’s management interface, where you can set up VLANs, multi-WAN connectivity, QoS, and other router settings.
Add the Lysora Router to the Cloud
You can visit this page for a full tutorial, but here’s the abridged version:
- Visit https://cloud-us.lysoratech.com/ in your web browser and log in to your Lysora Cloud Account.
- Go to Projects –> Add Project and enter a project name and a management password (same as the router’s password).
- Select Device Type –> Gateway and enter the serial number of your router, which can be found on a label at the bottom.
- Optionally, enter a name for the device, then click OK.
Once your router has been added to the Lysora Cloud, you’ll be able to manage it remotely from your web browser by logging back into the cloud portal. You can also manage it through the Lysora app, which makes it helpful in case you need to change settings while you’re away from the site.
Lastly, it’s important to note that Lysora routers do not come with built-in Wi-Fi. You’ll need a Lysora access point for Wi-Fi – such as the L6 or L7Lite.